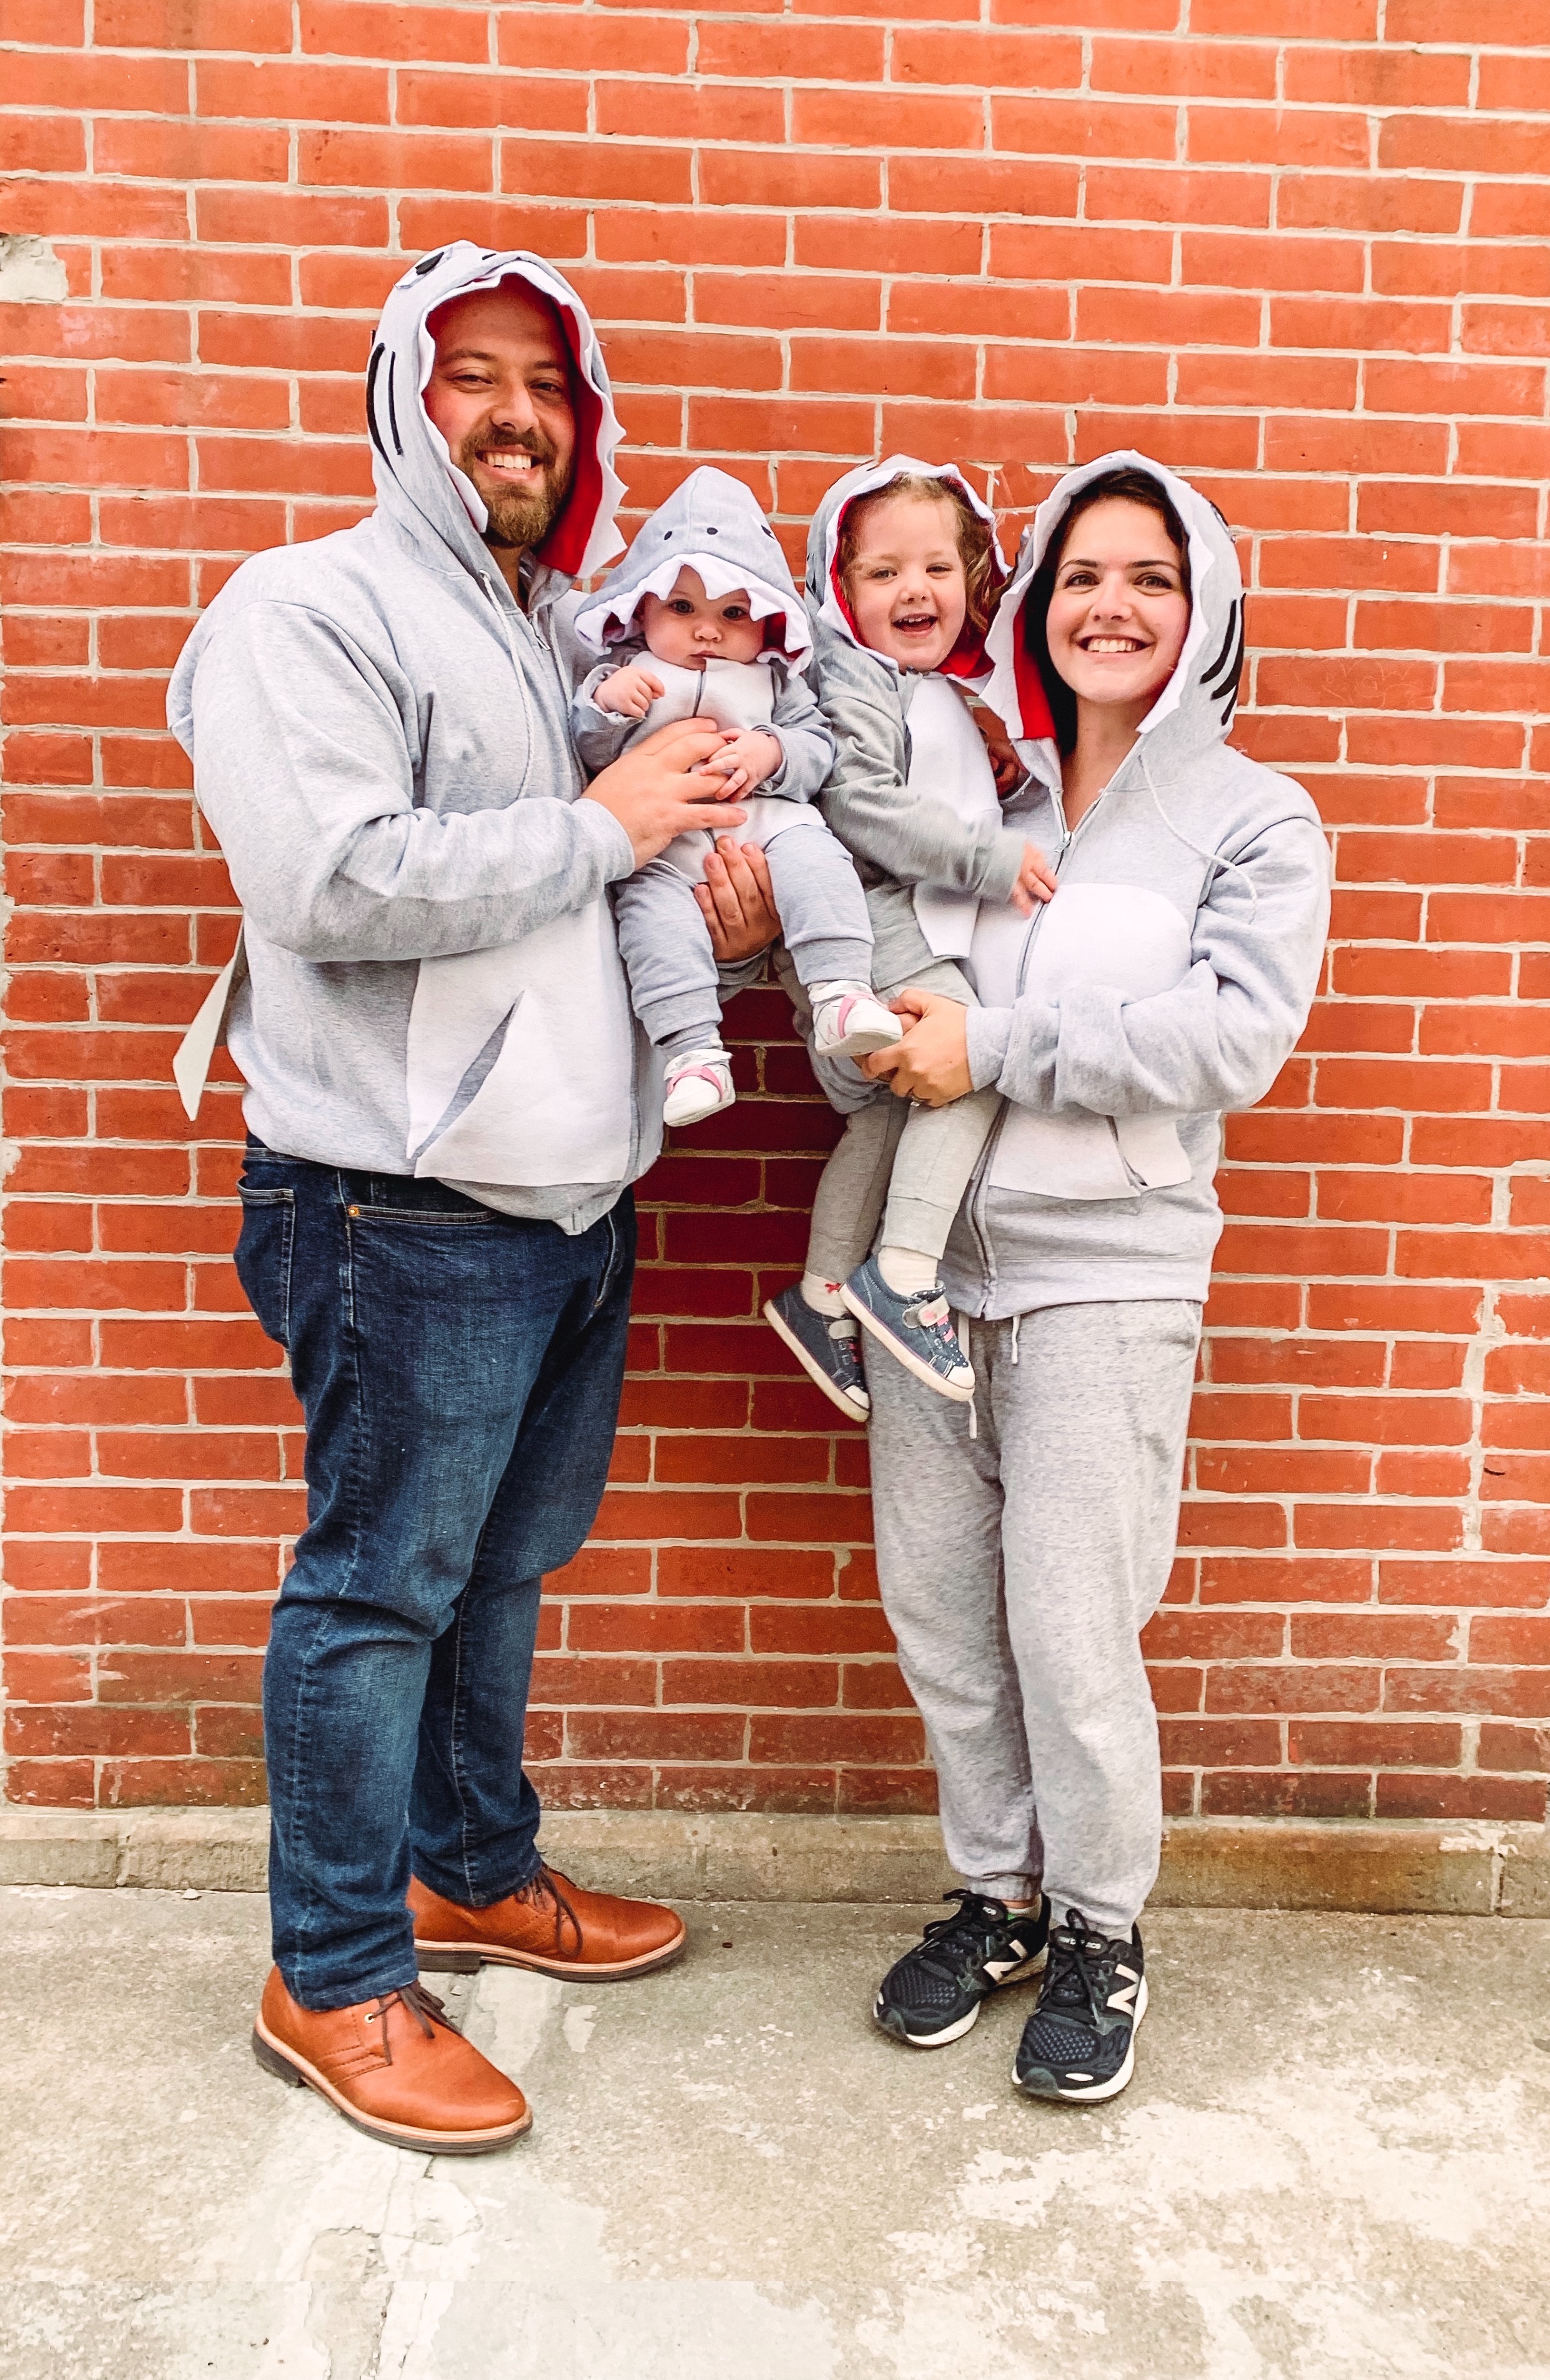
Purim 2019: DIY Baby Shark Family Costume
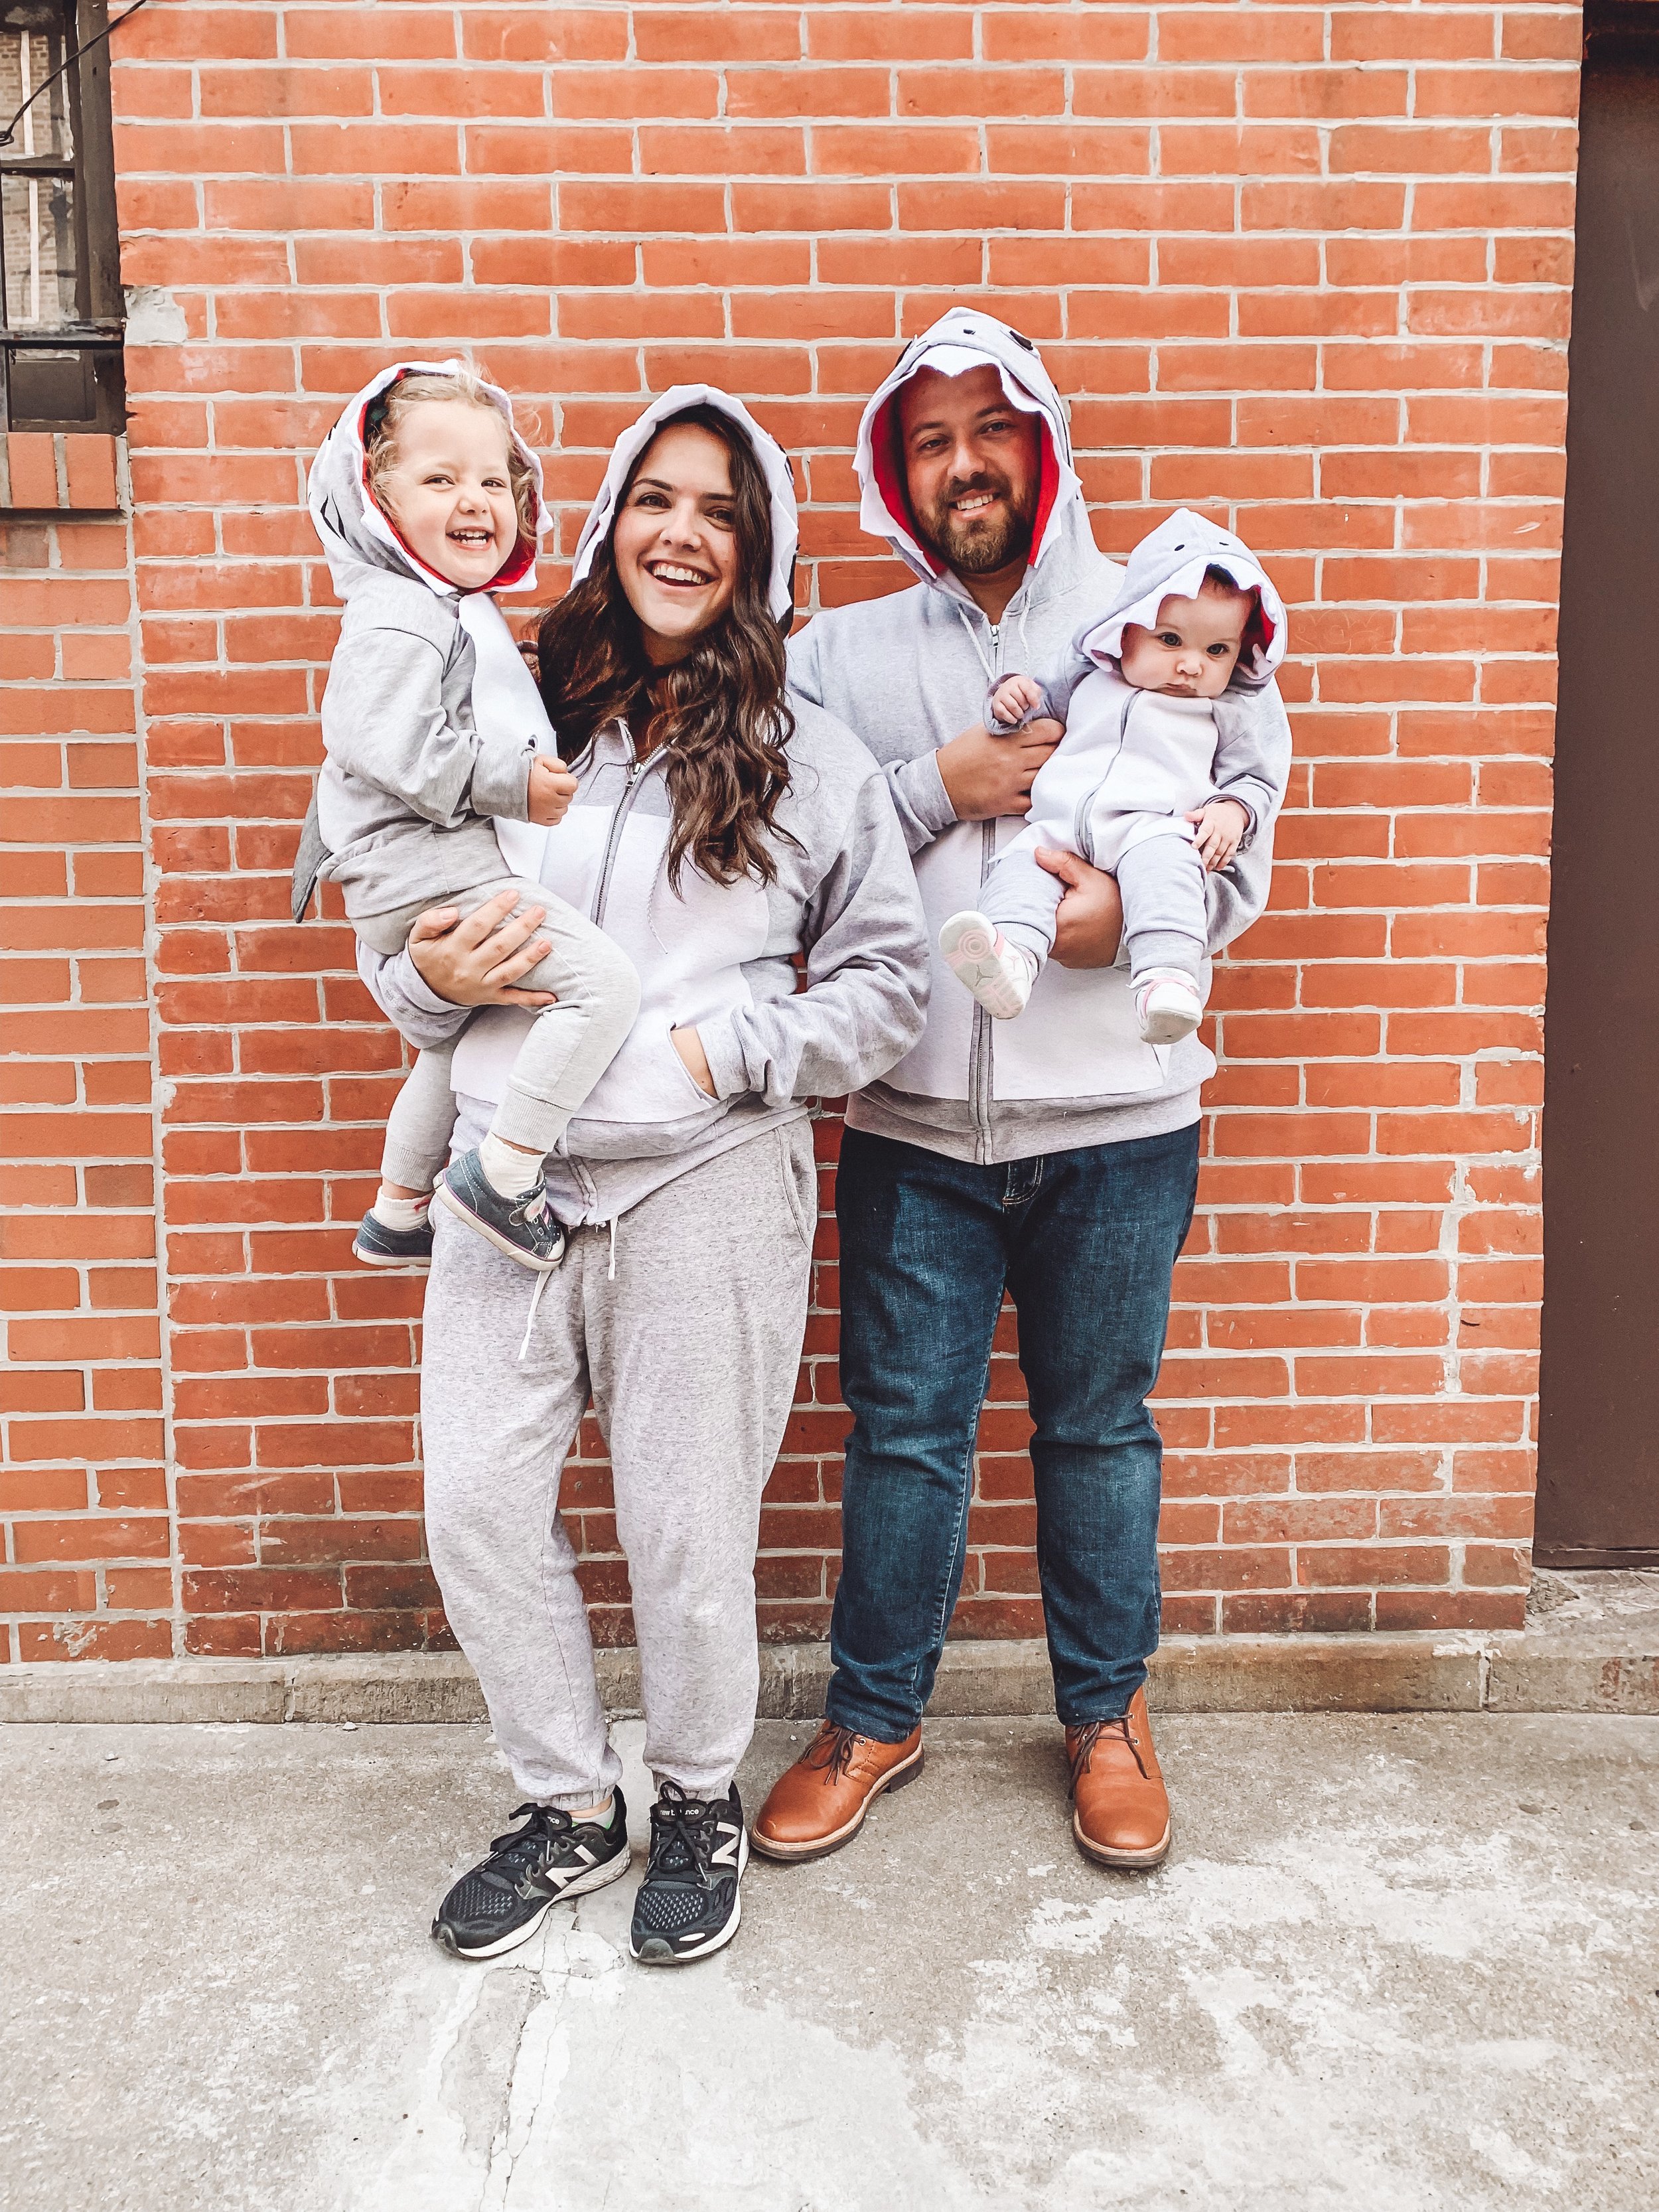
This year was our first Purim as a family of 4. It is customary on this Jewish holiday to dress in costume. If you’ve been following me for a little while, you know I love to dress up in costume and when possible, have a matching theme with my family. Check out my DIY costume posts here - Unicorn, Rosie the Riveter Costume, Lady Bug and Bee. Despite my attempts to shield my toddler from the Baby Shark pop song craze, it was unavoidable and she and drank the Baby Shark cool-aid. She was officially hooked and requested to play the song or music video nearly everyday for the past 3 months! The upbeat melody and repetitive lyrics were always in my head, no matter how much I tried not to think about the song! (Sorry in advance for getting it stuck in your head!) I figured, if you can’t beat ‘em, join ‘em… and thus, my inspiration for our family Purim costume was born! Keep reading to see how I our matching shark family costumes came to life:
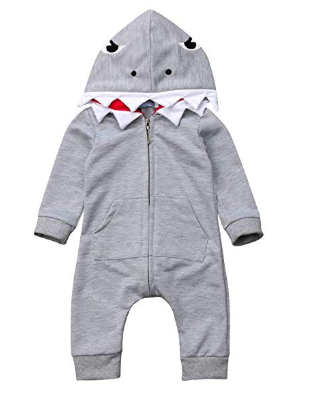
I looked online for shark costumes and everything I saw for adults was pretty cheesy and pretty pricey! I saw some decent options for toddlers and babies, but nothing perfect. So I decided make my own and modify the ones I found for my kids. I wanted this costume DIY to be fun, easy, and comfortable to wear! I don’t have a sewing machine, but I’m pretty crafty so I thought about other ways to achieve this look.


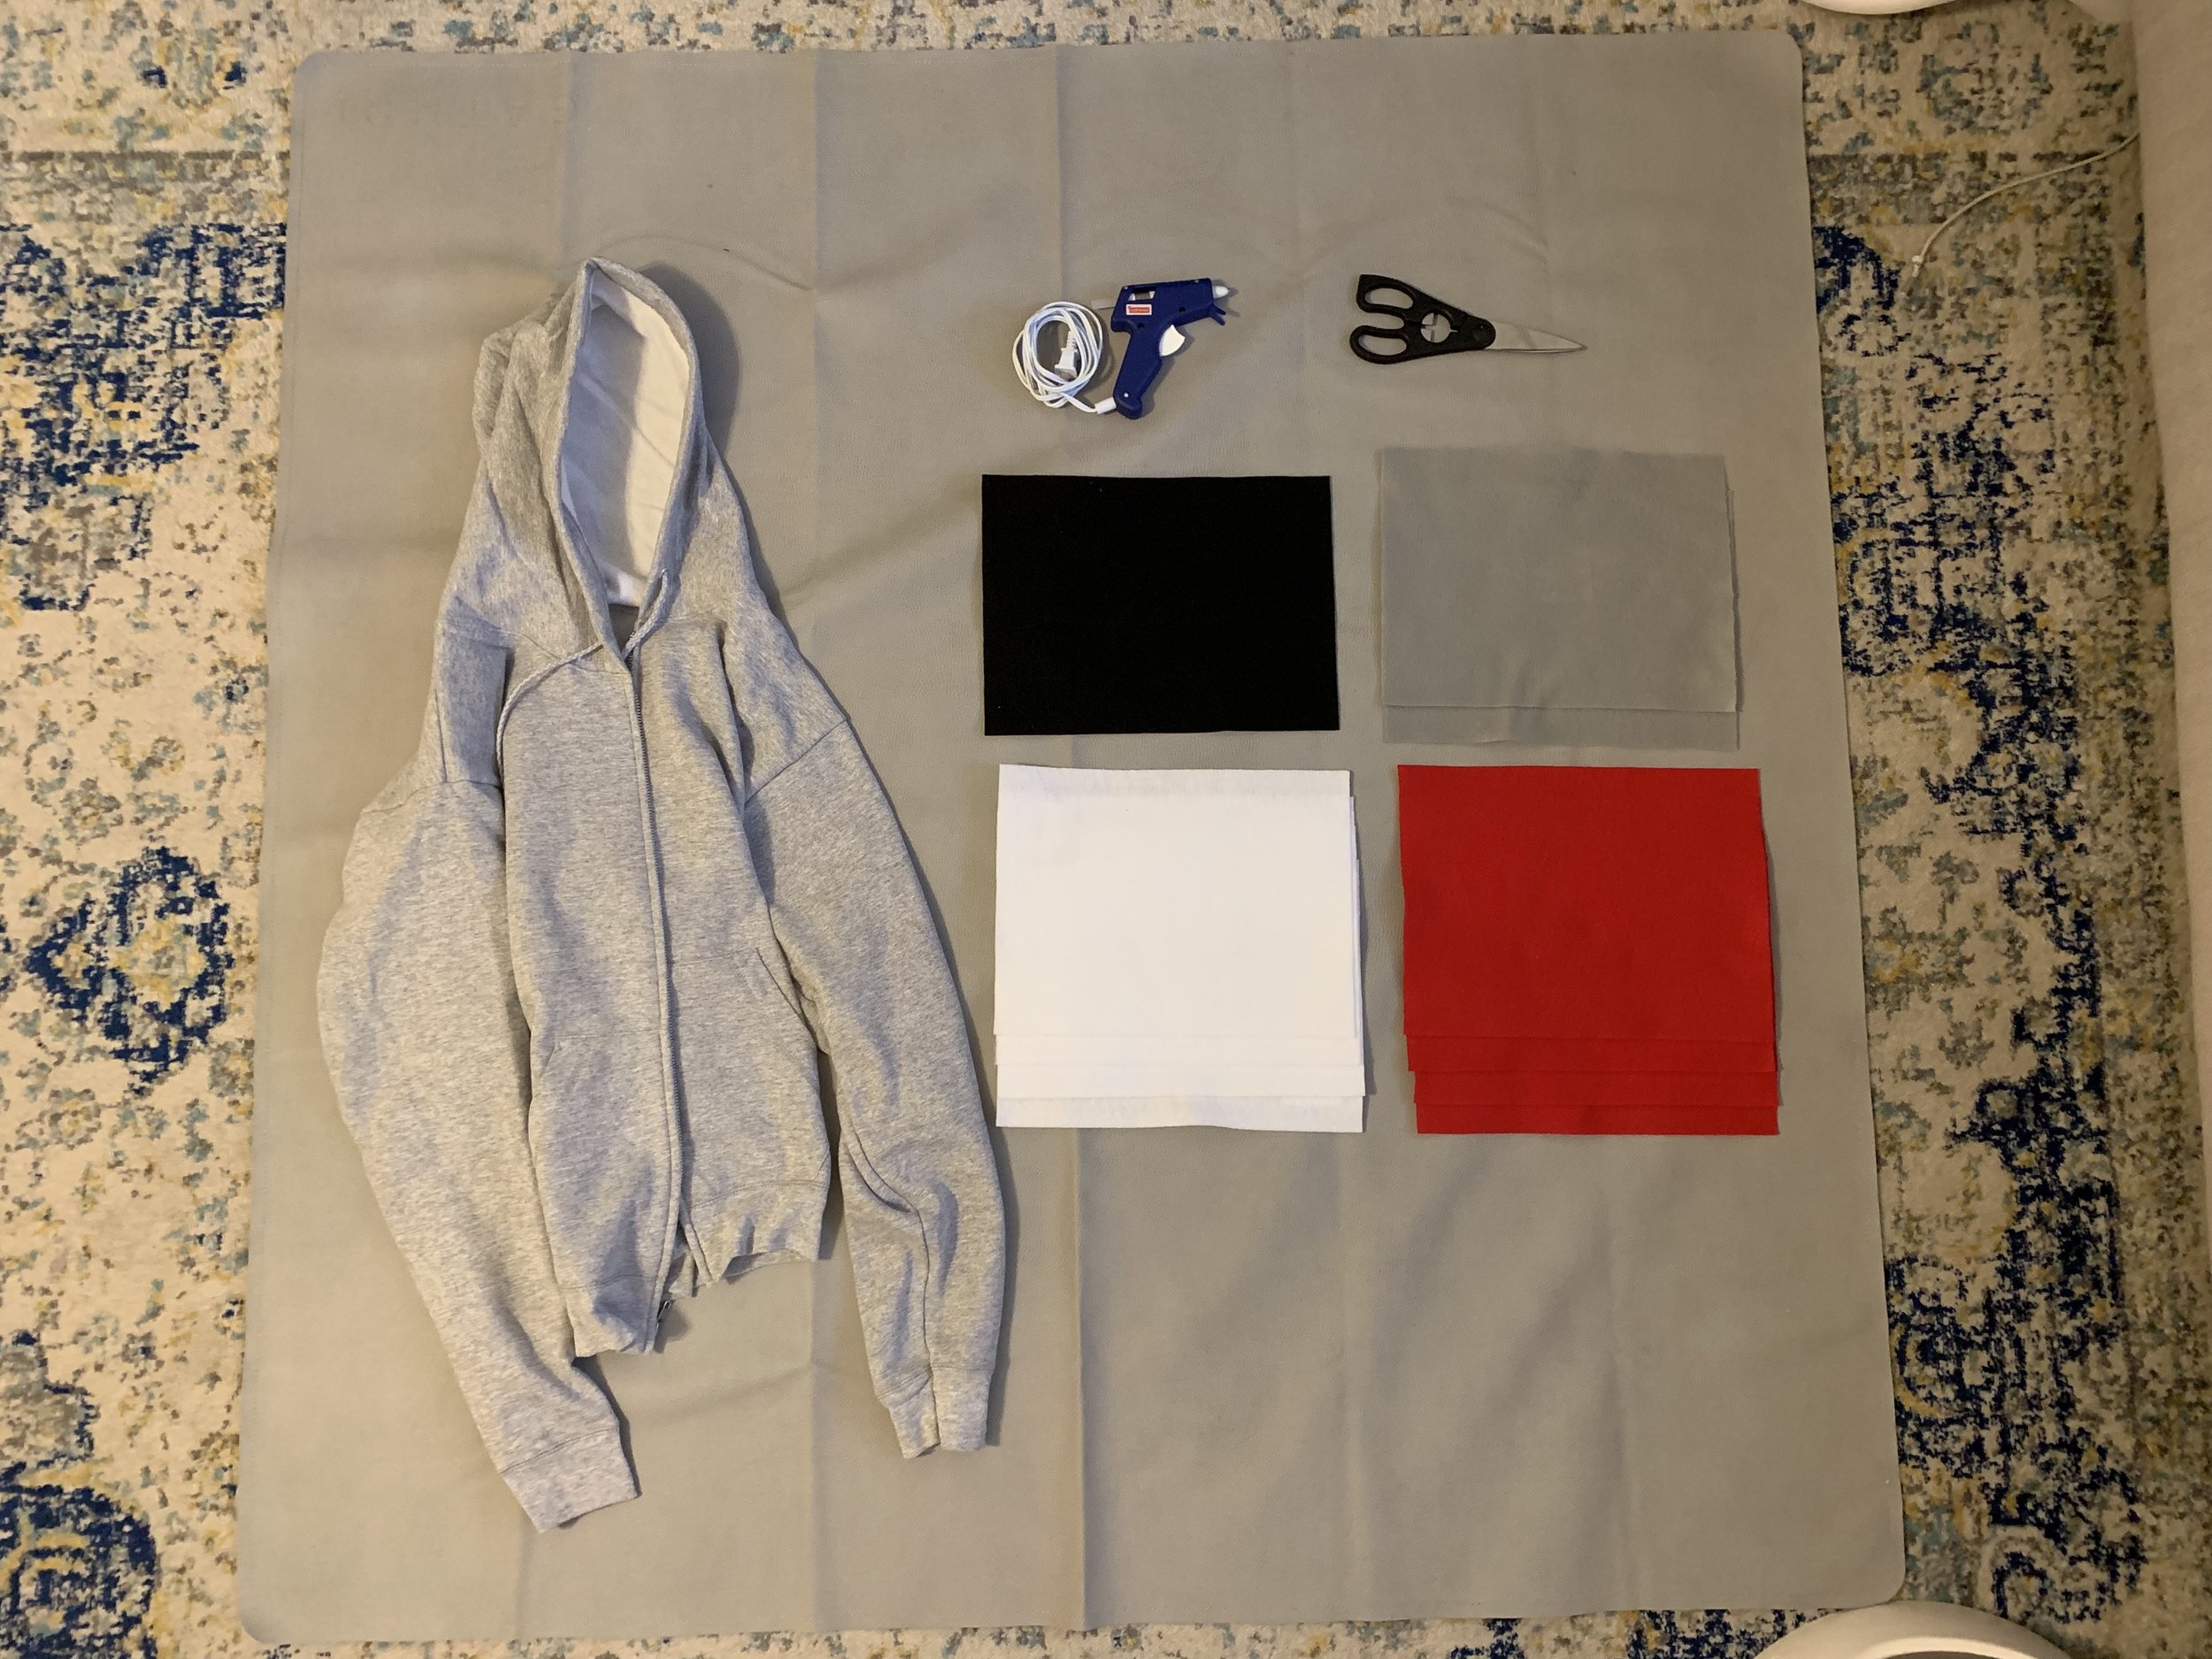
WHAT YOU’LL NEED:
Felt (I used white, red, black, and grey)
Scissors
Black sharpie
DIRECTIONS
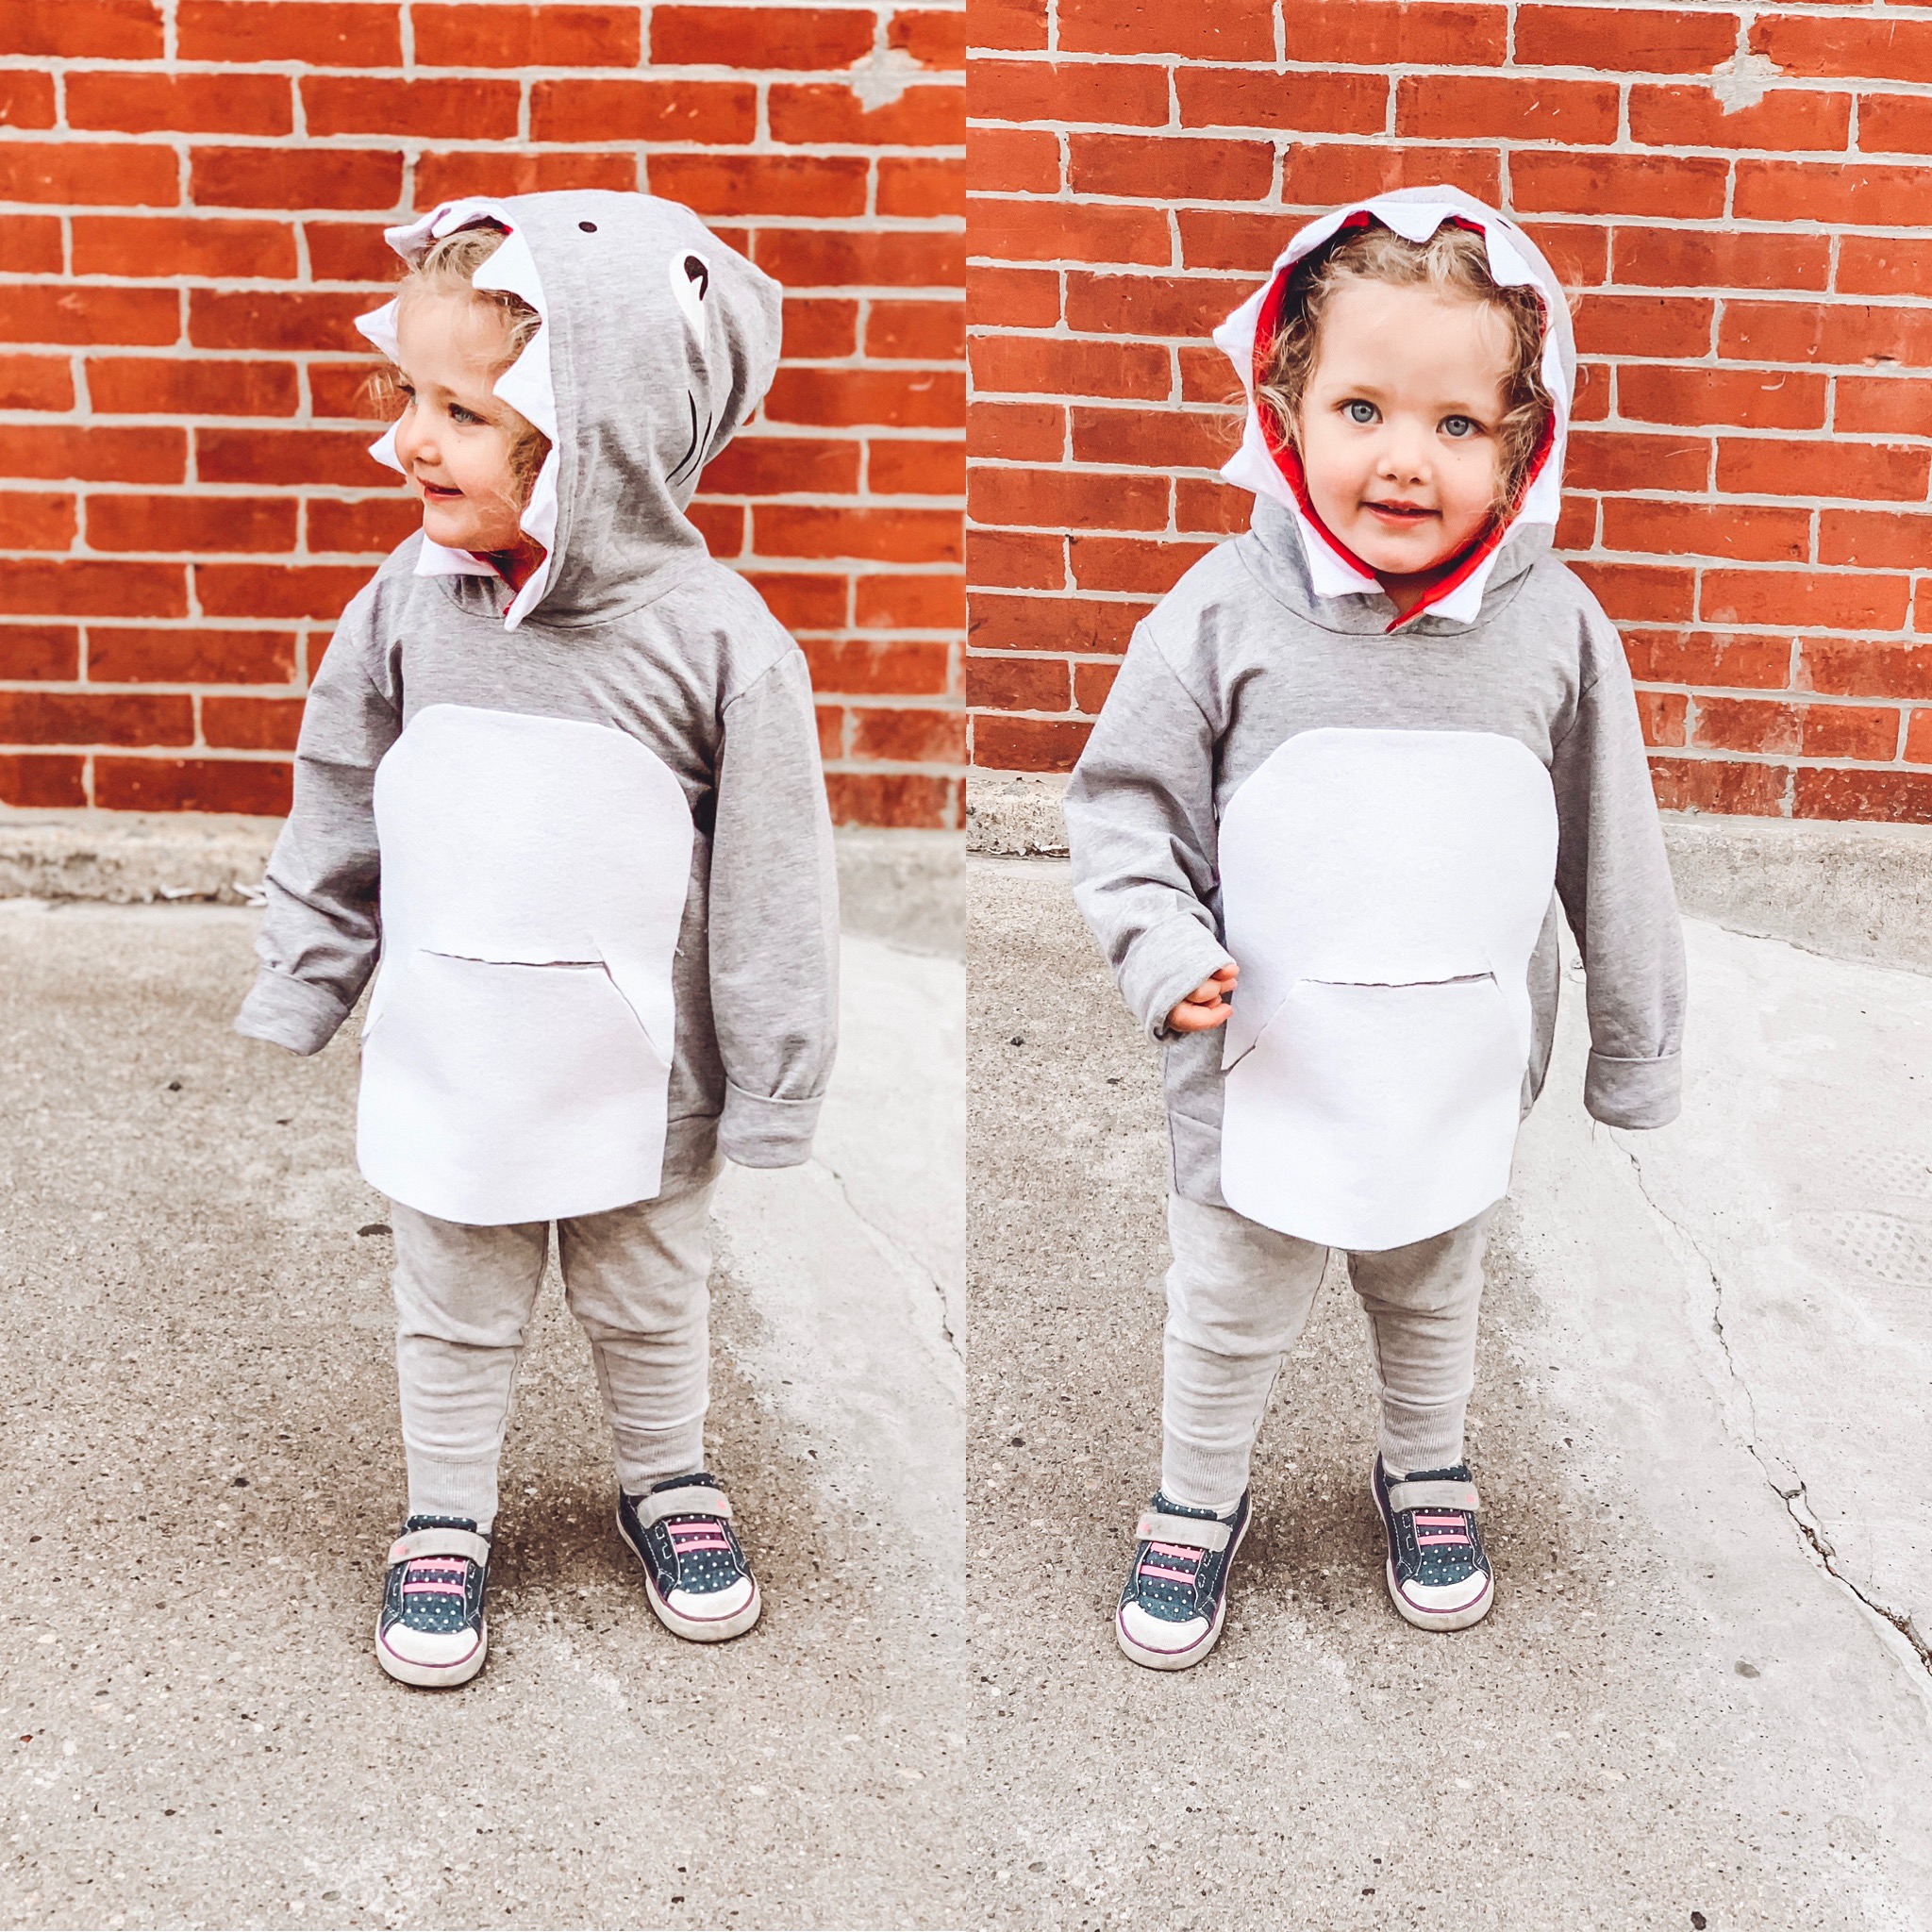
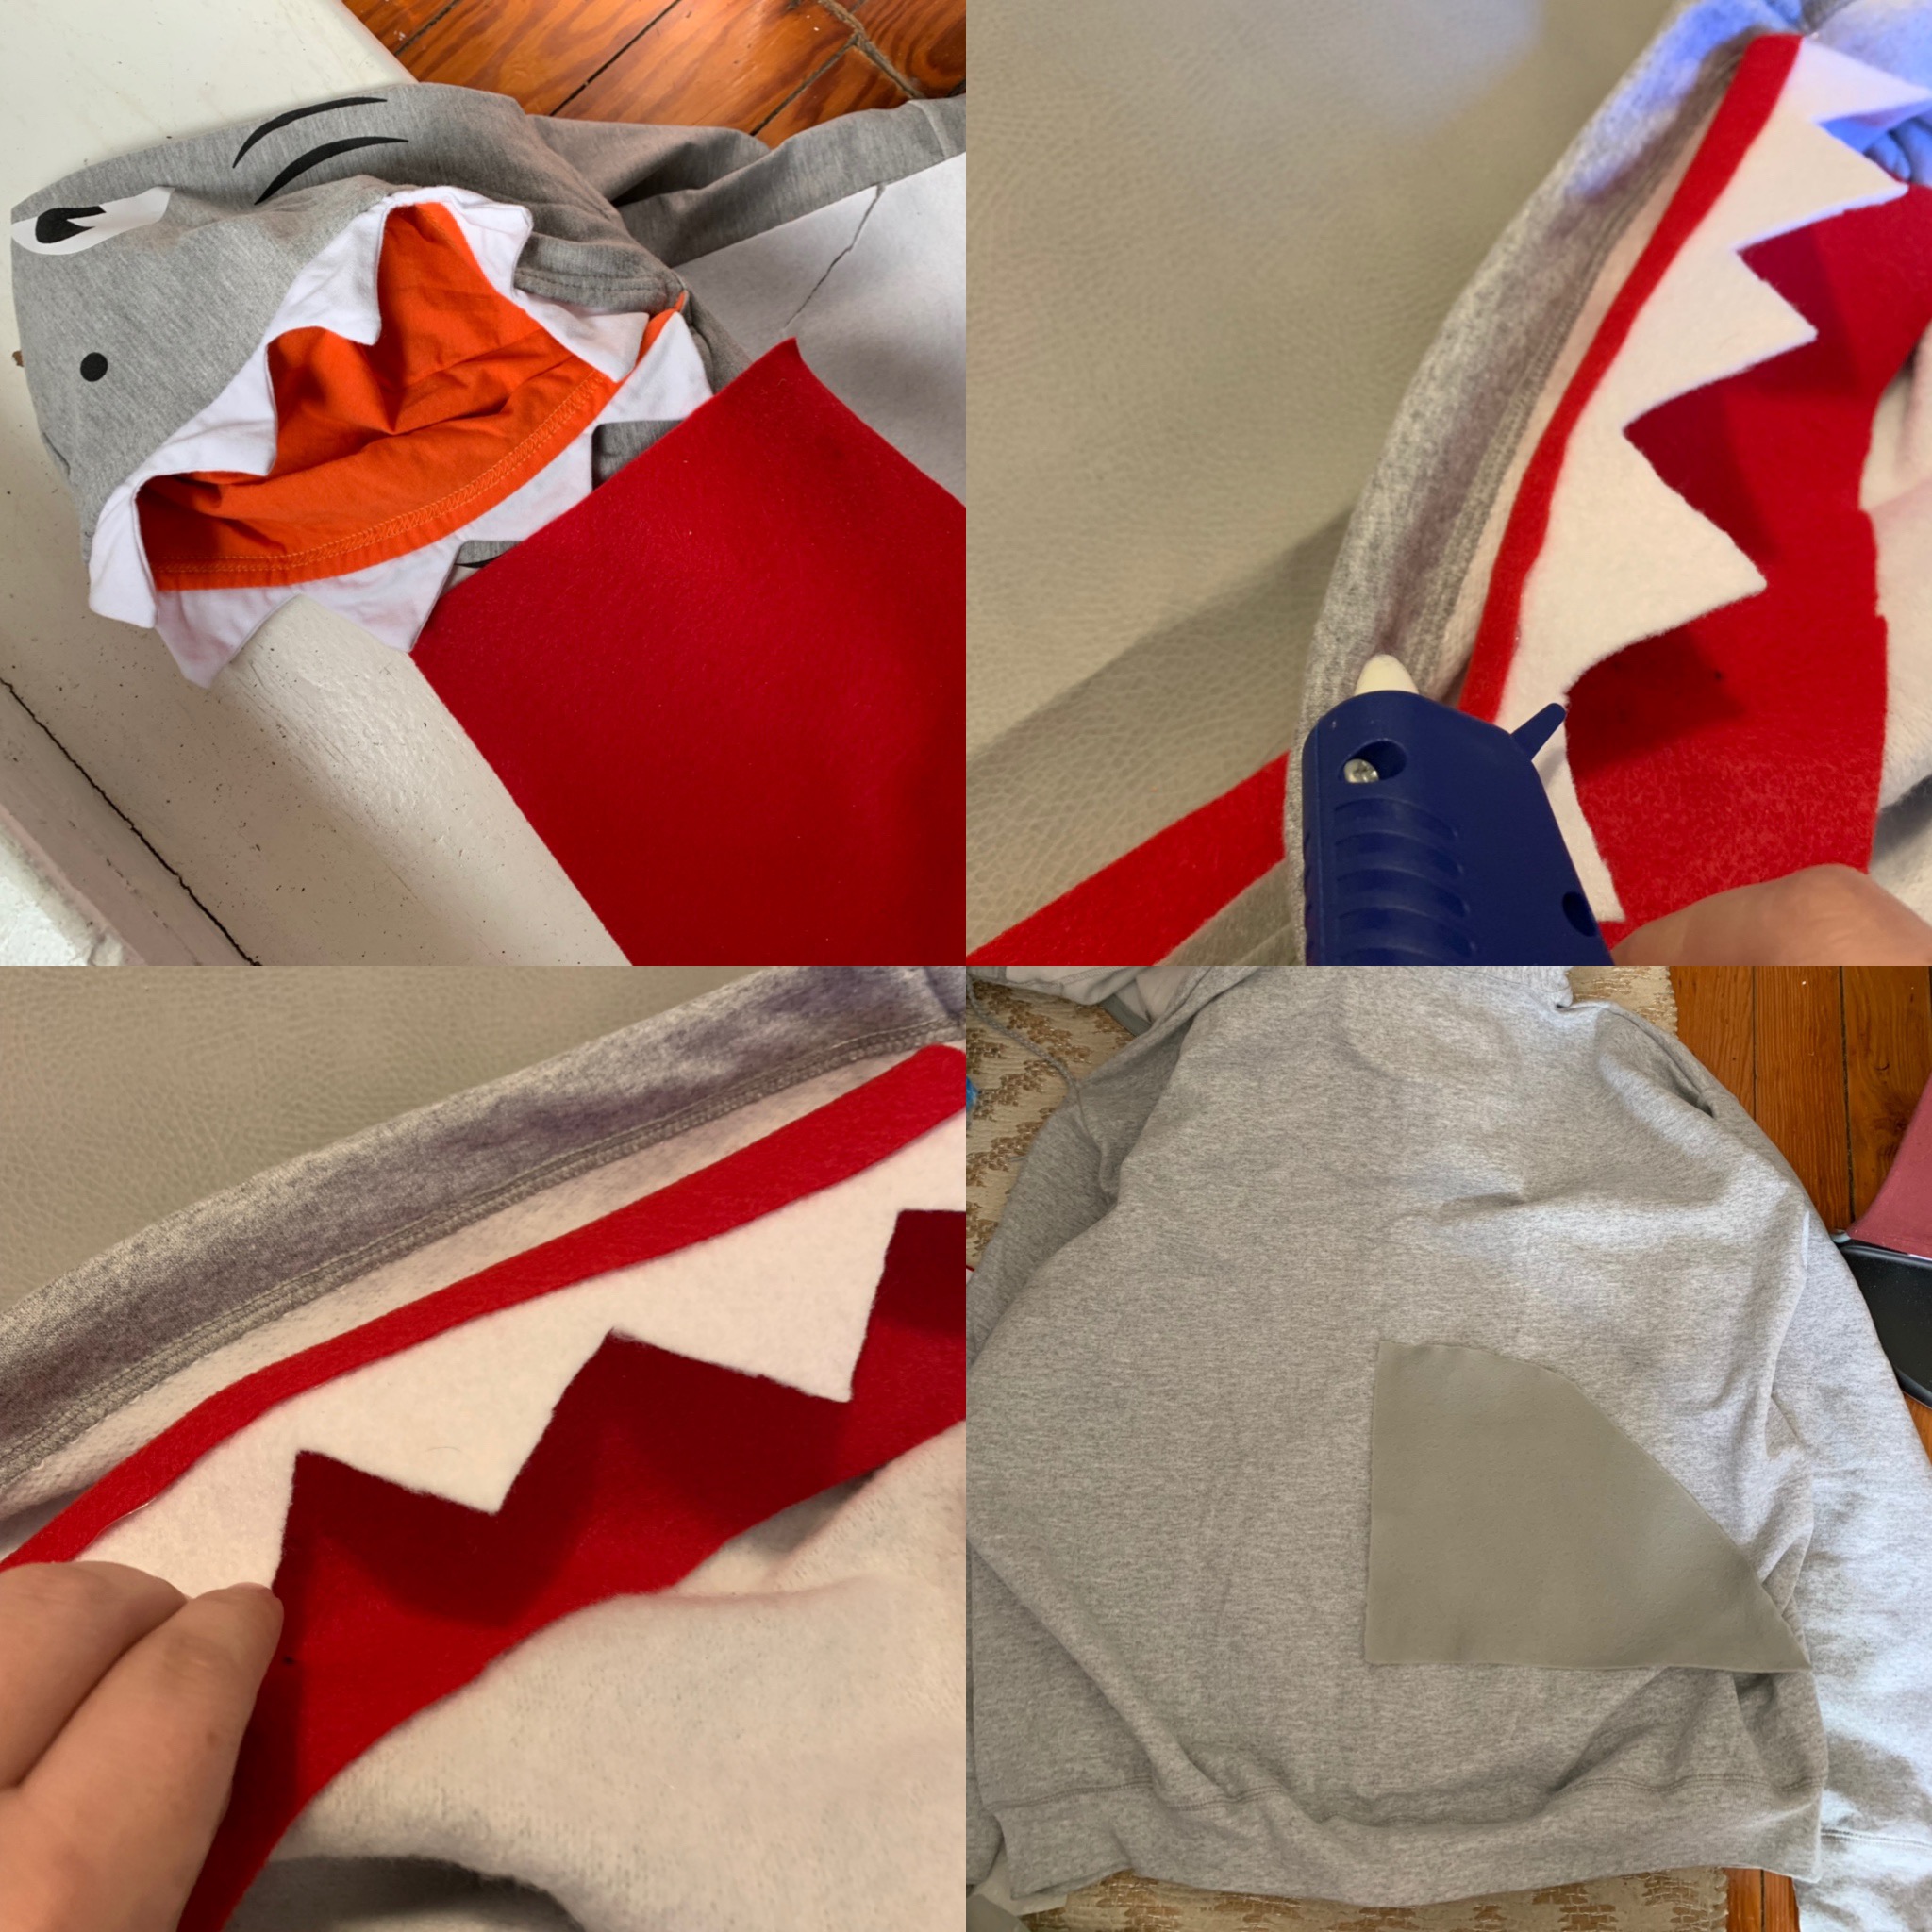
I started with the teeth around the hood. Using a sharpie, draw zigzag pattern on your white felt to create the shape of the teeth and cut out the shape.
Glue the white teeth onto a piece of red felt with your hot glue gun. Glue the red felt onto the border of your hood and the interior of your hood.
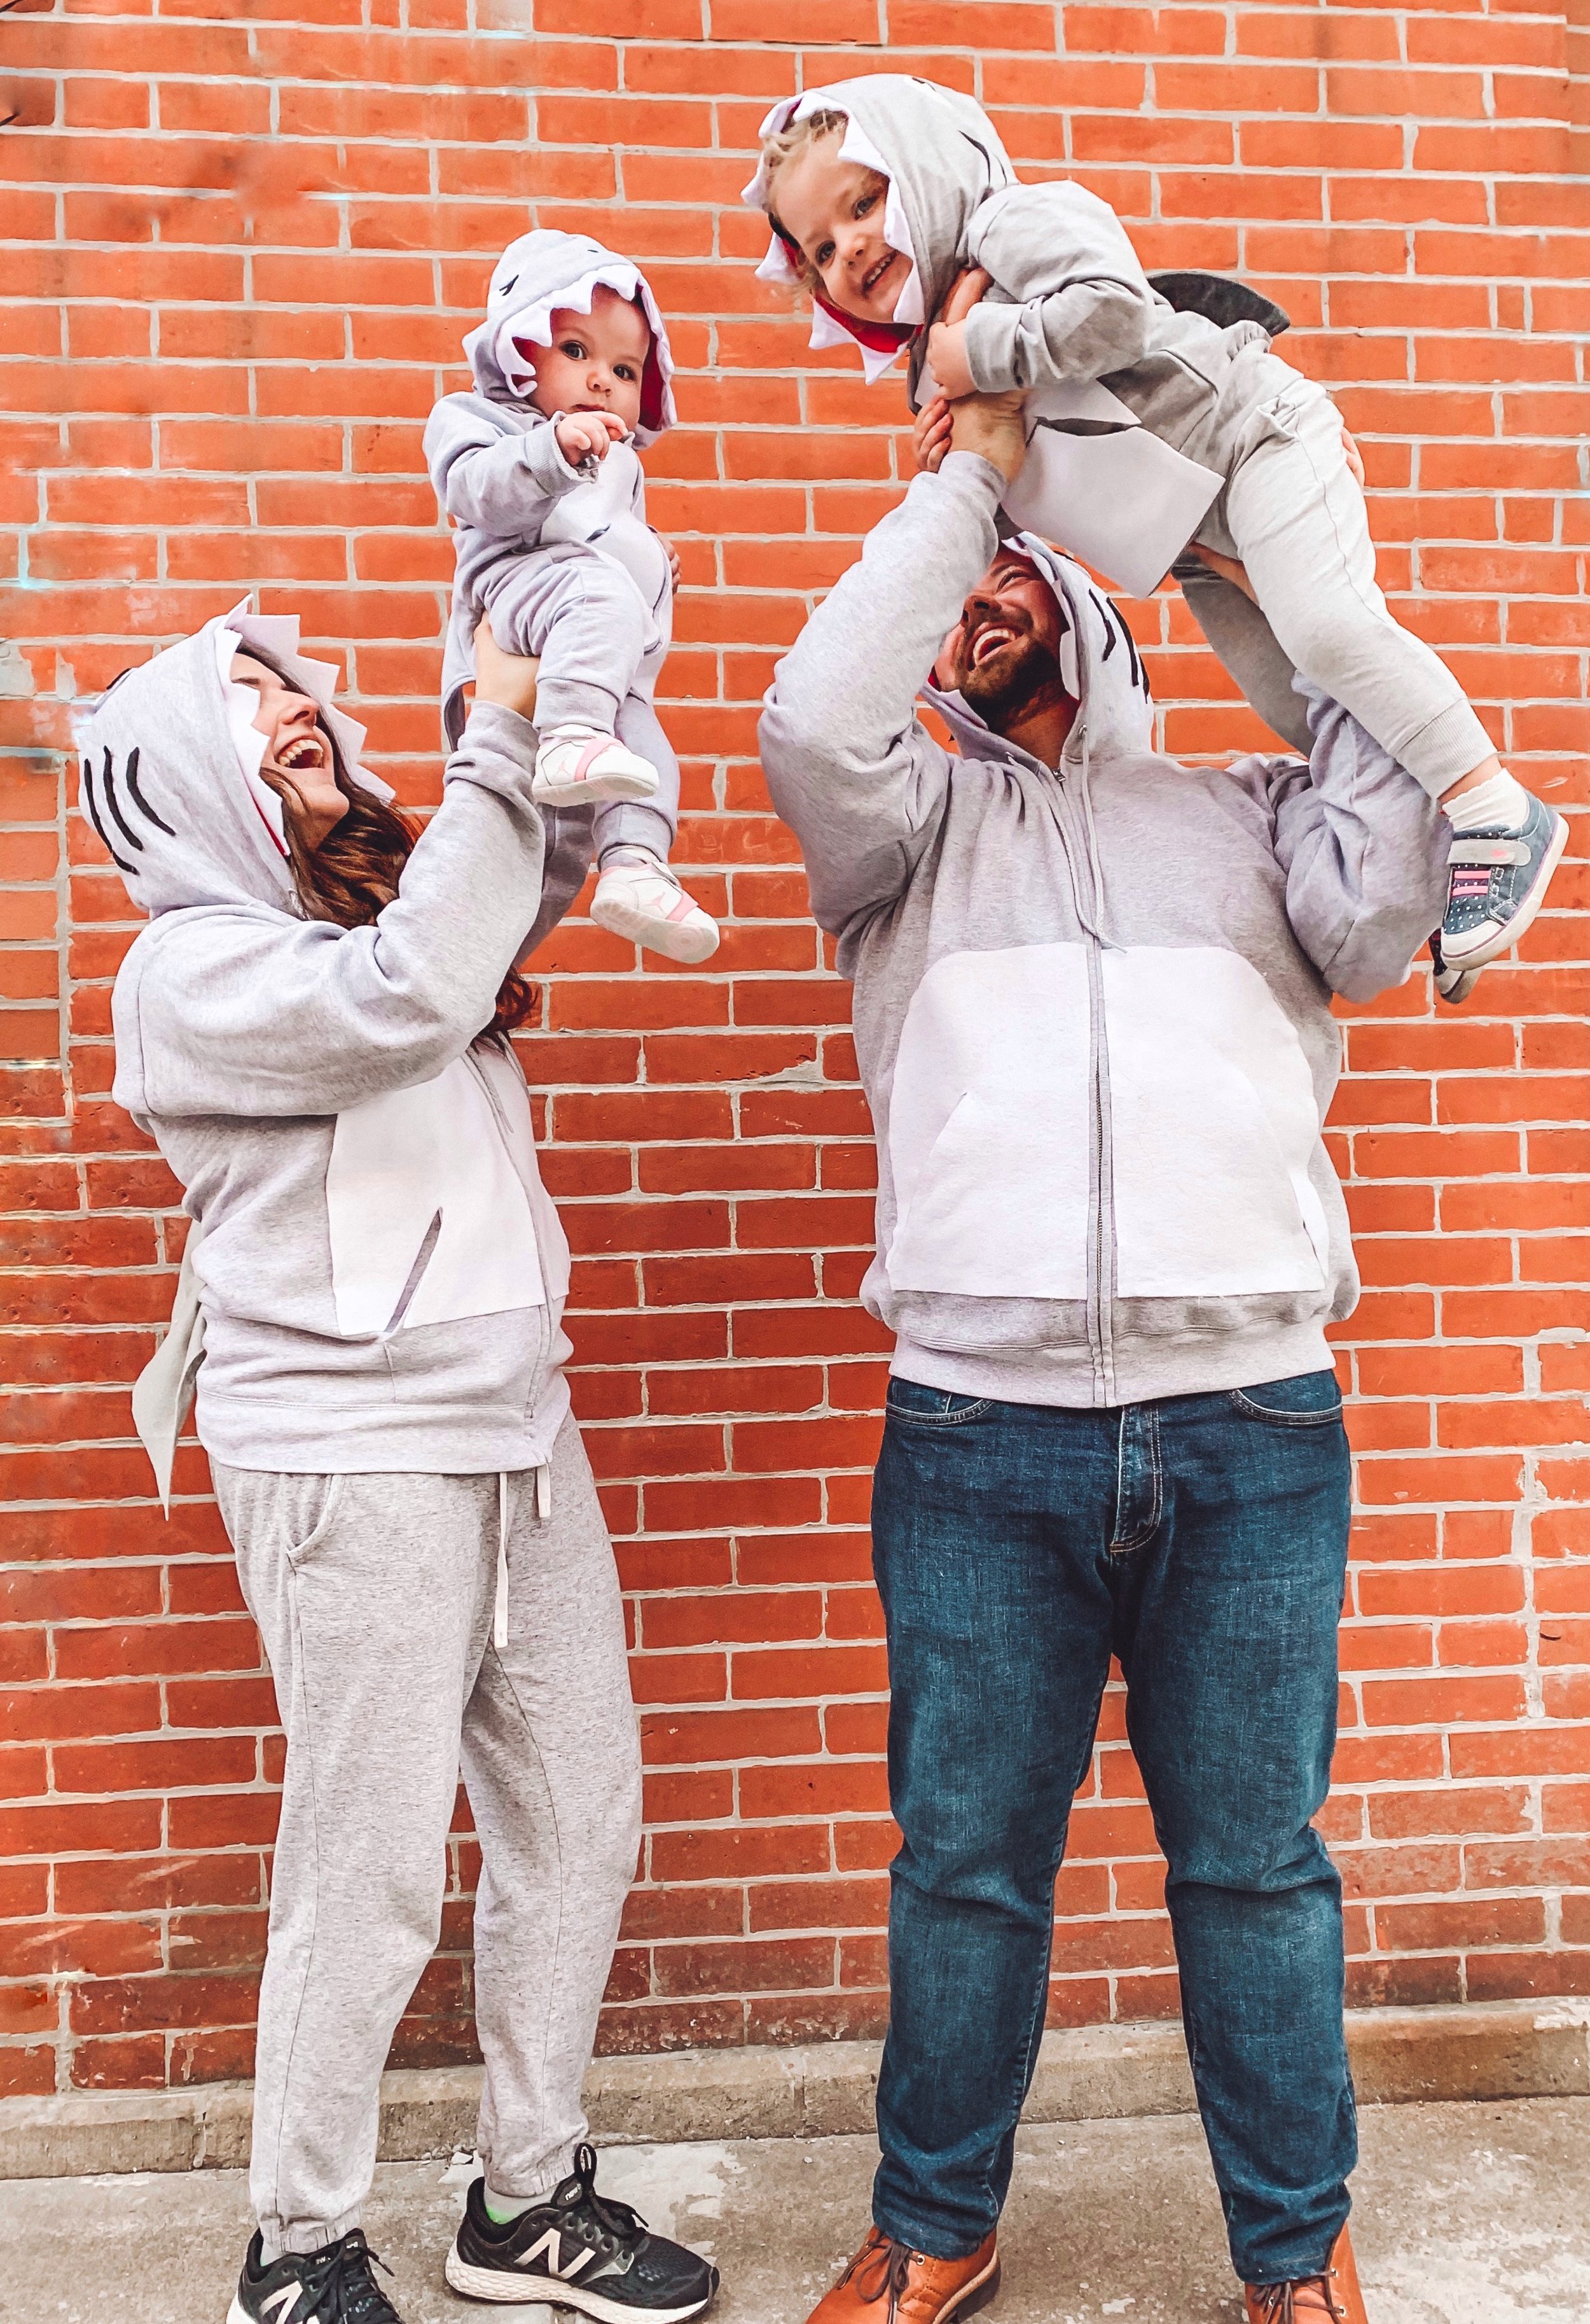
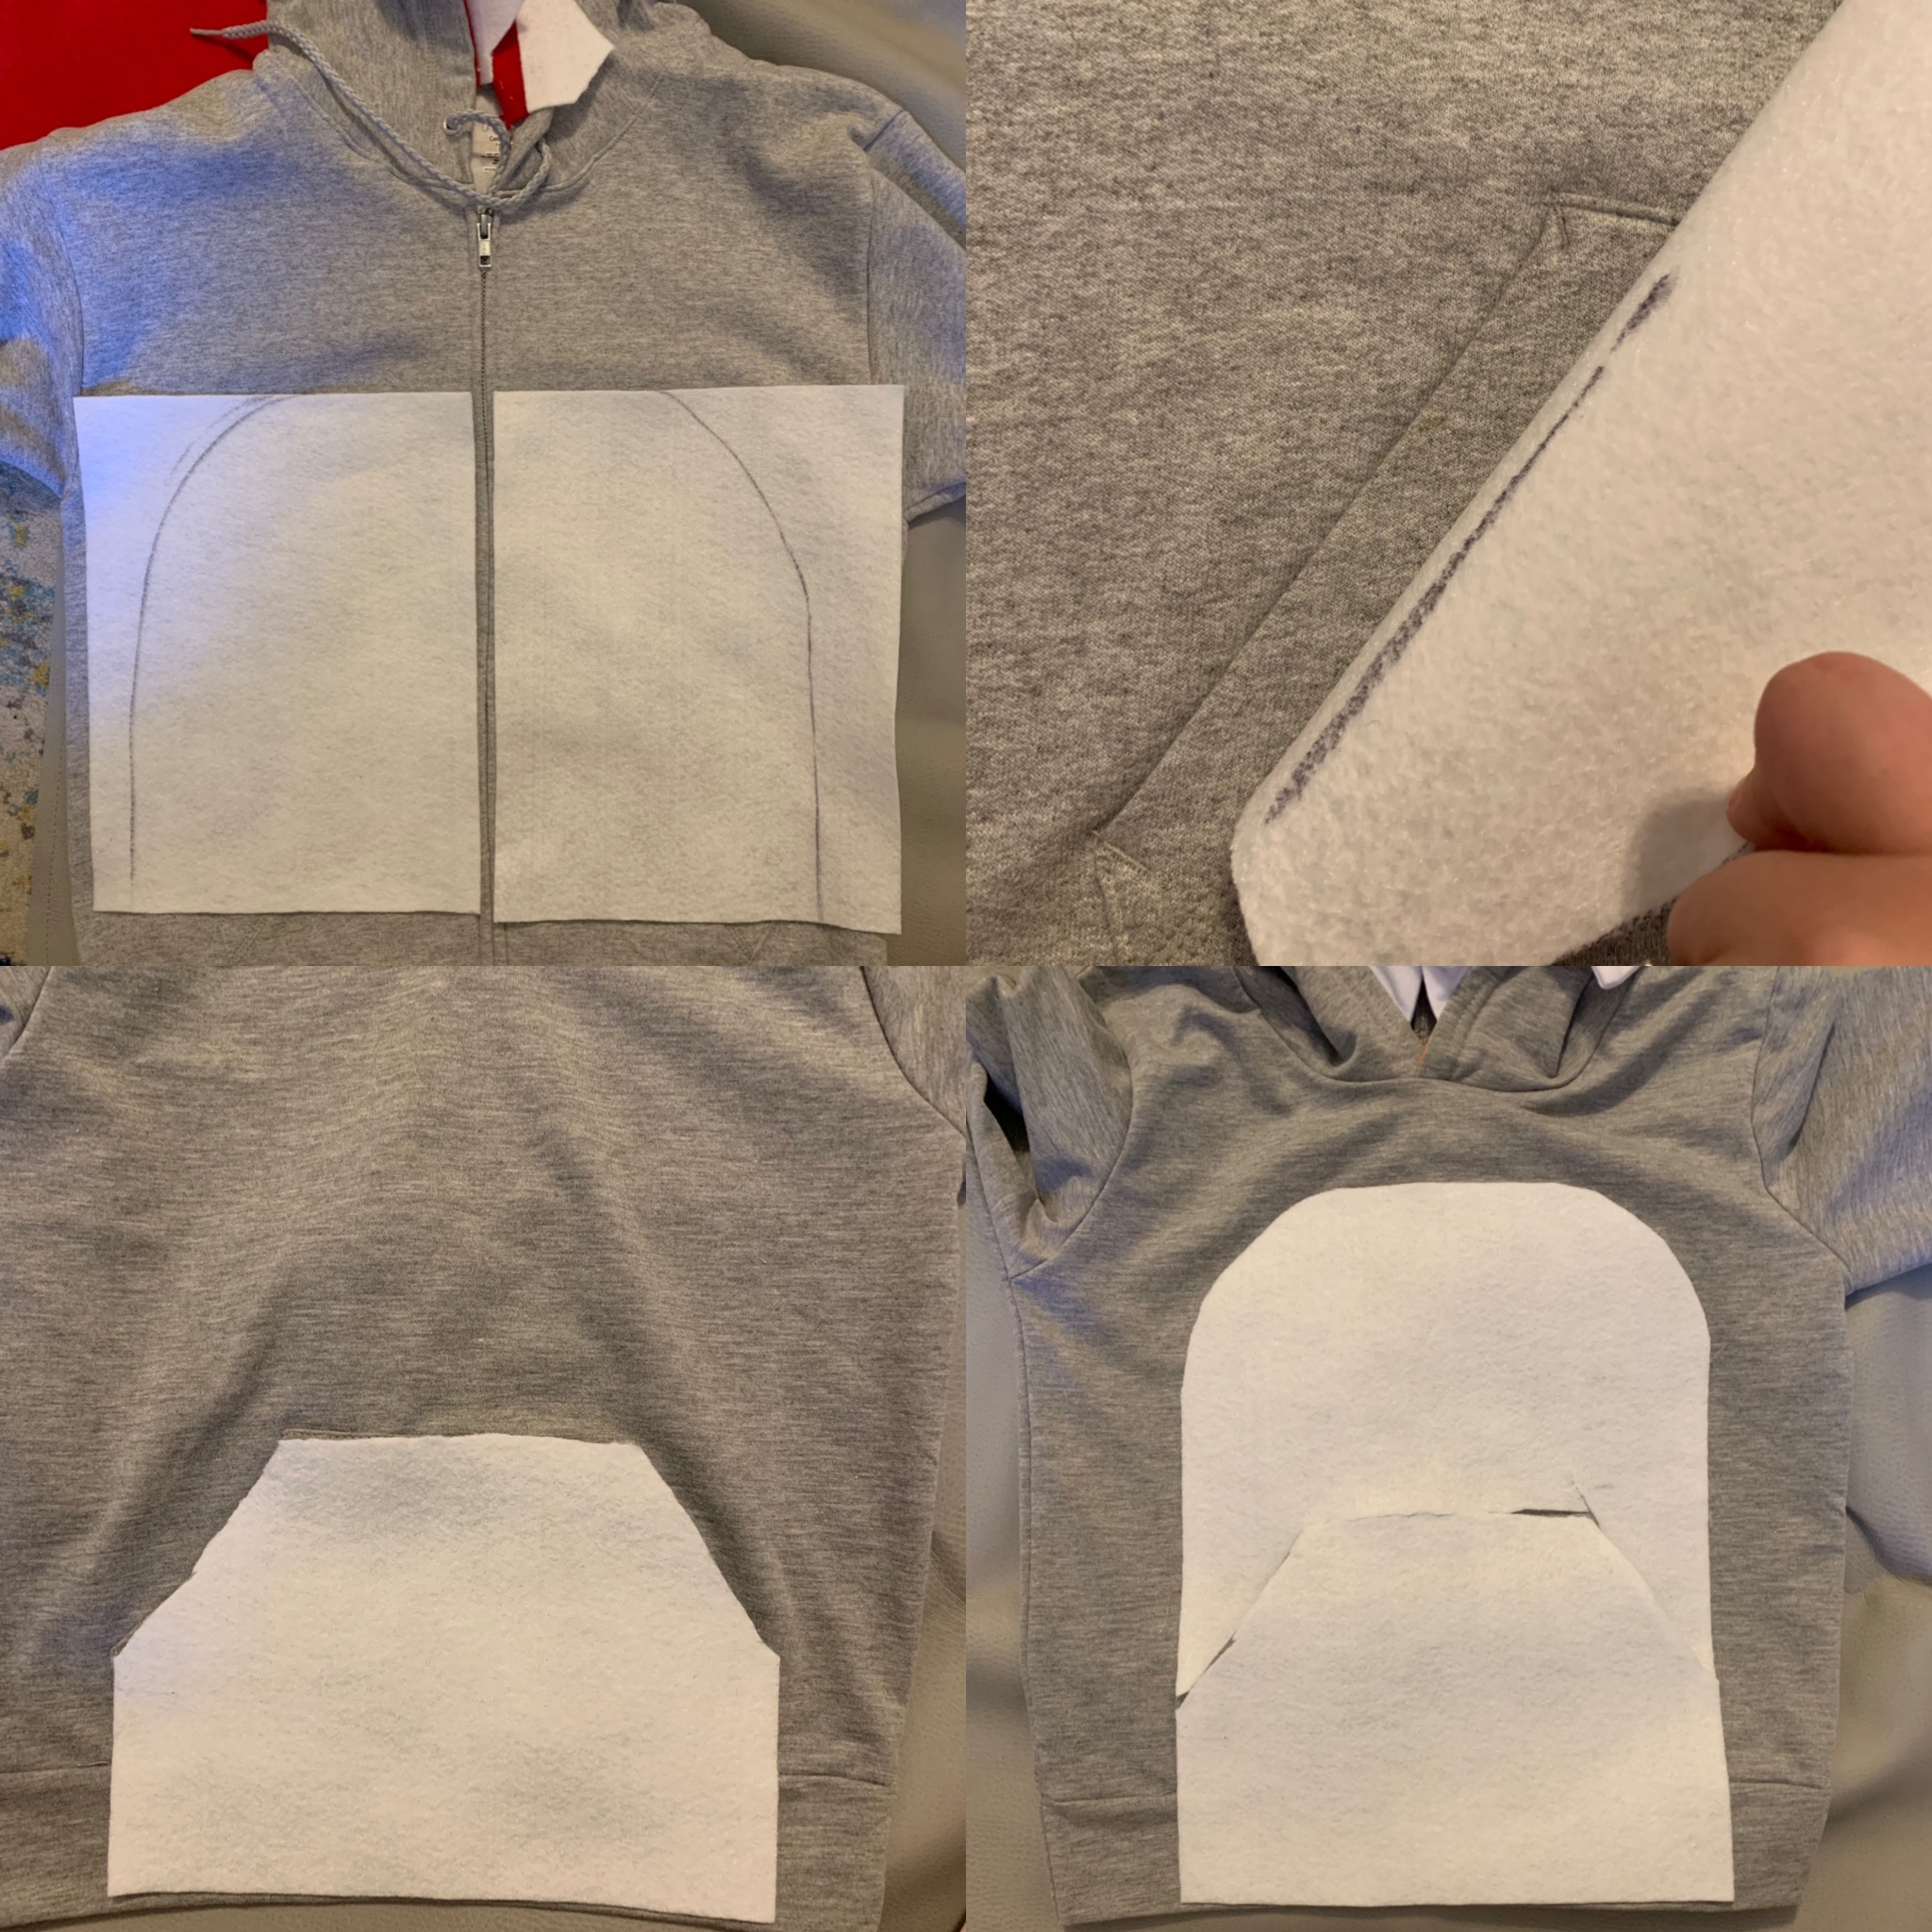
Spread the adult hoodie out (I had mine zipped up) and lay your white felt on top of it. Using your sharpie, draw a semi circle on the top of the white felt to create the shape you want for the shark belly and cut off the extra felt from the corners.
Make sure you leave a space to be able to unzip the sweatshirt and to access your pockets. Once you’ve positioned the white felt where you want it, glue it down. (Pro tip - try on the hoodie to see how high up or how low down you want the belly to be.)
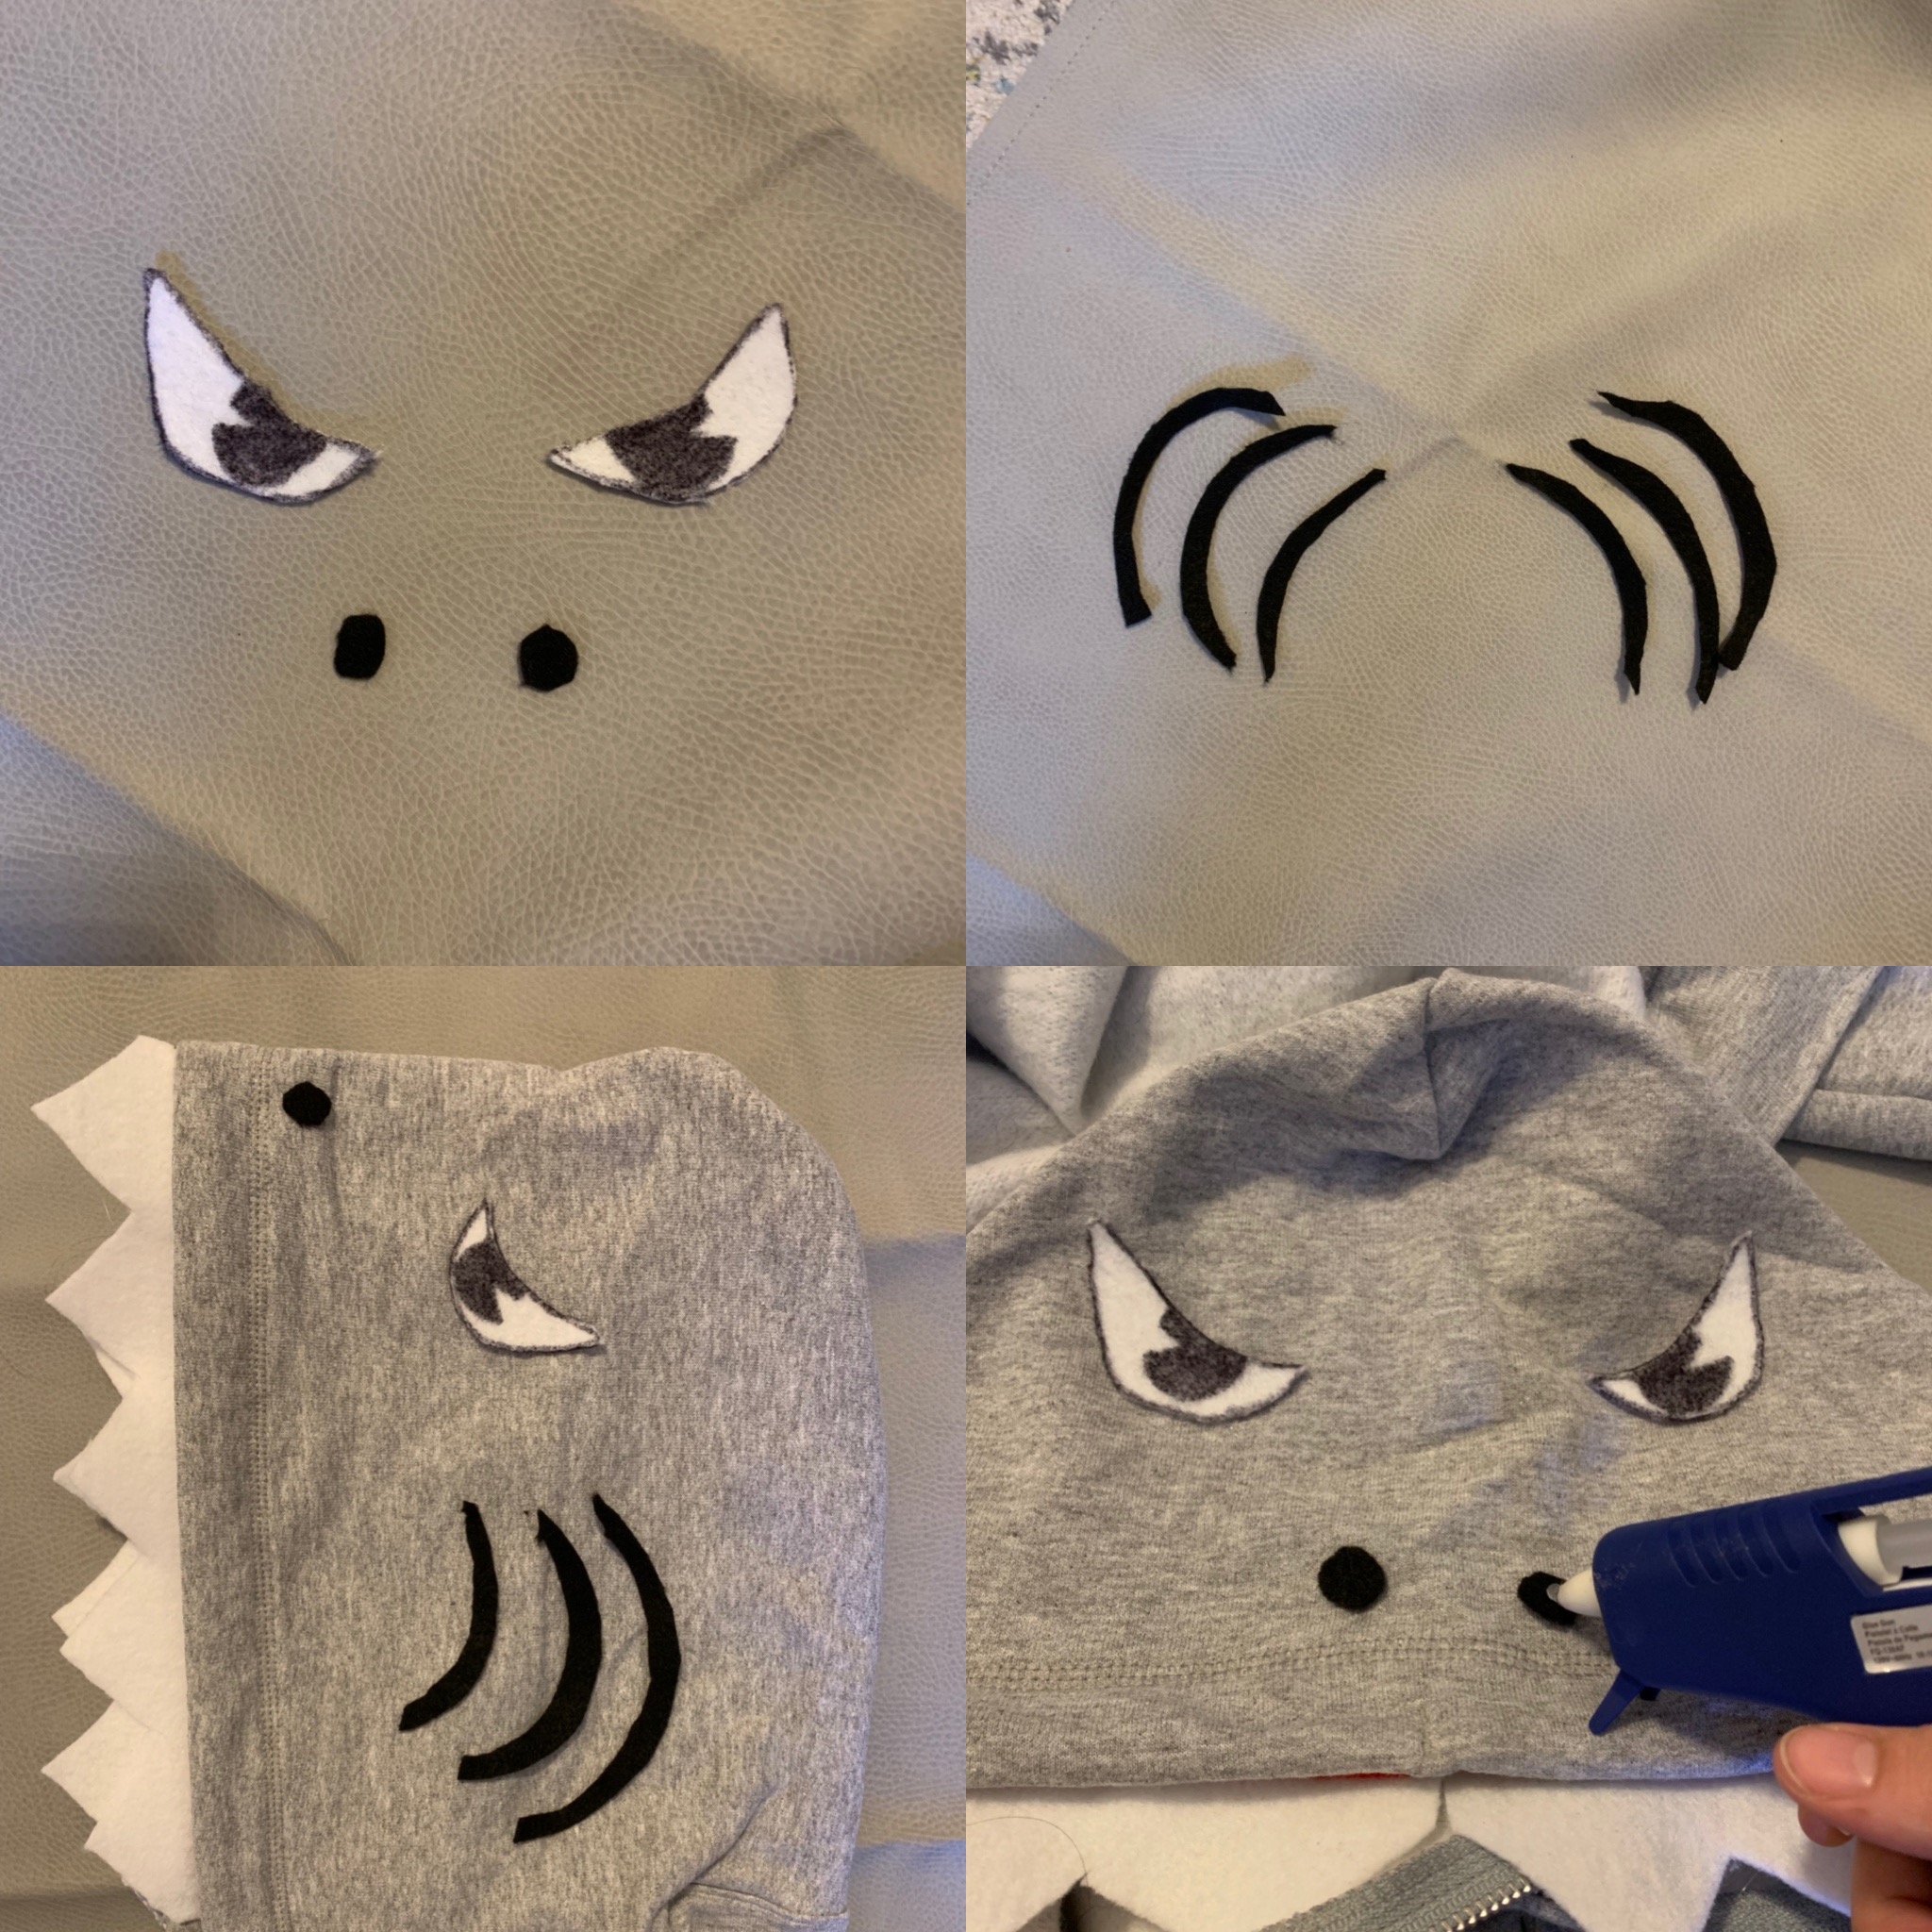
Now add the shark face details! Use your sharpie to draw eyes on your white felt and cut them out. Cut to small circles for the shark nose. Cut 6 semi circles (mine look more like commas) for the shark gills - 3 on each side of the head. Once all of these items have been cut out and placed in your desired position, glue them down.
Next, the fin! Cut out a fin shape from your grey felt and glue it onto the back of your sweatshirt.
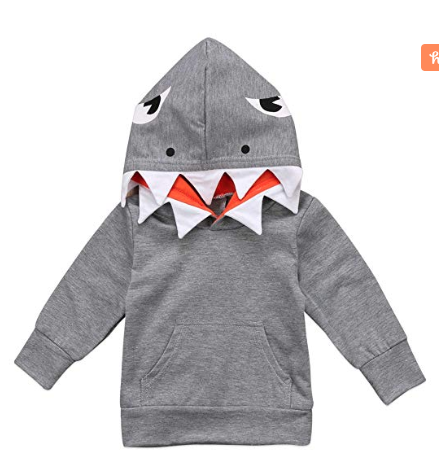
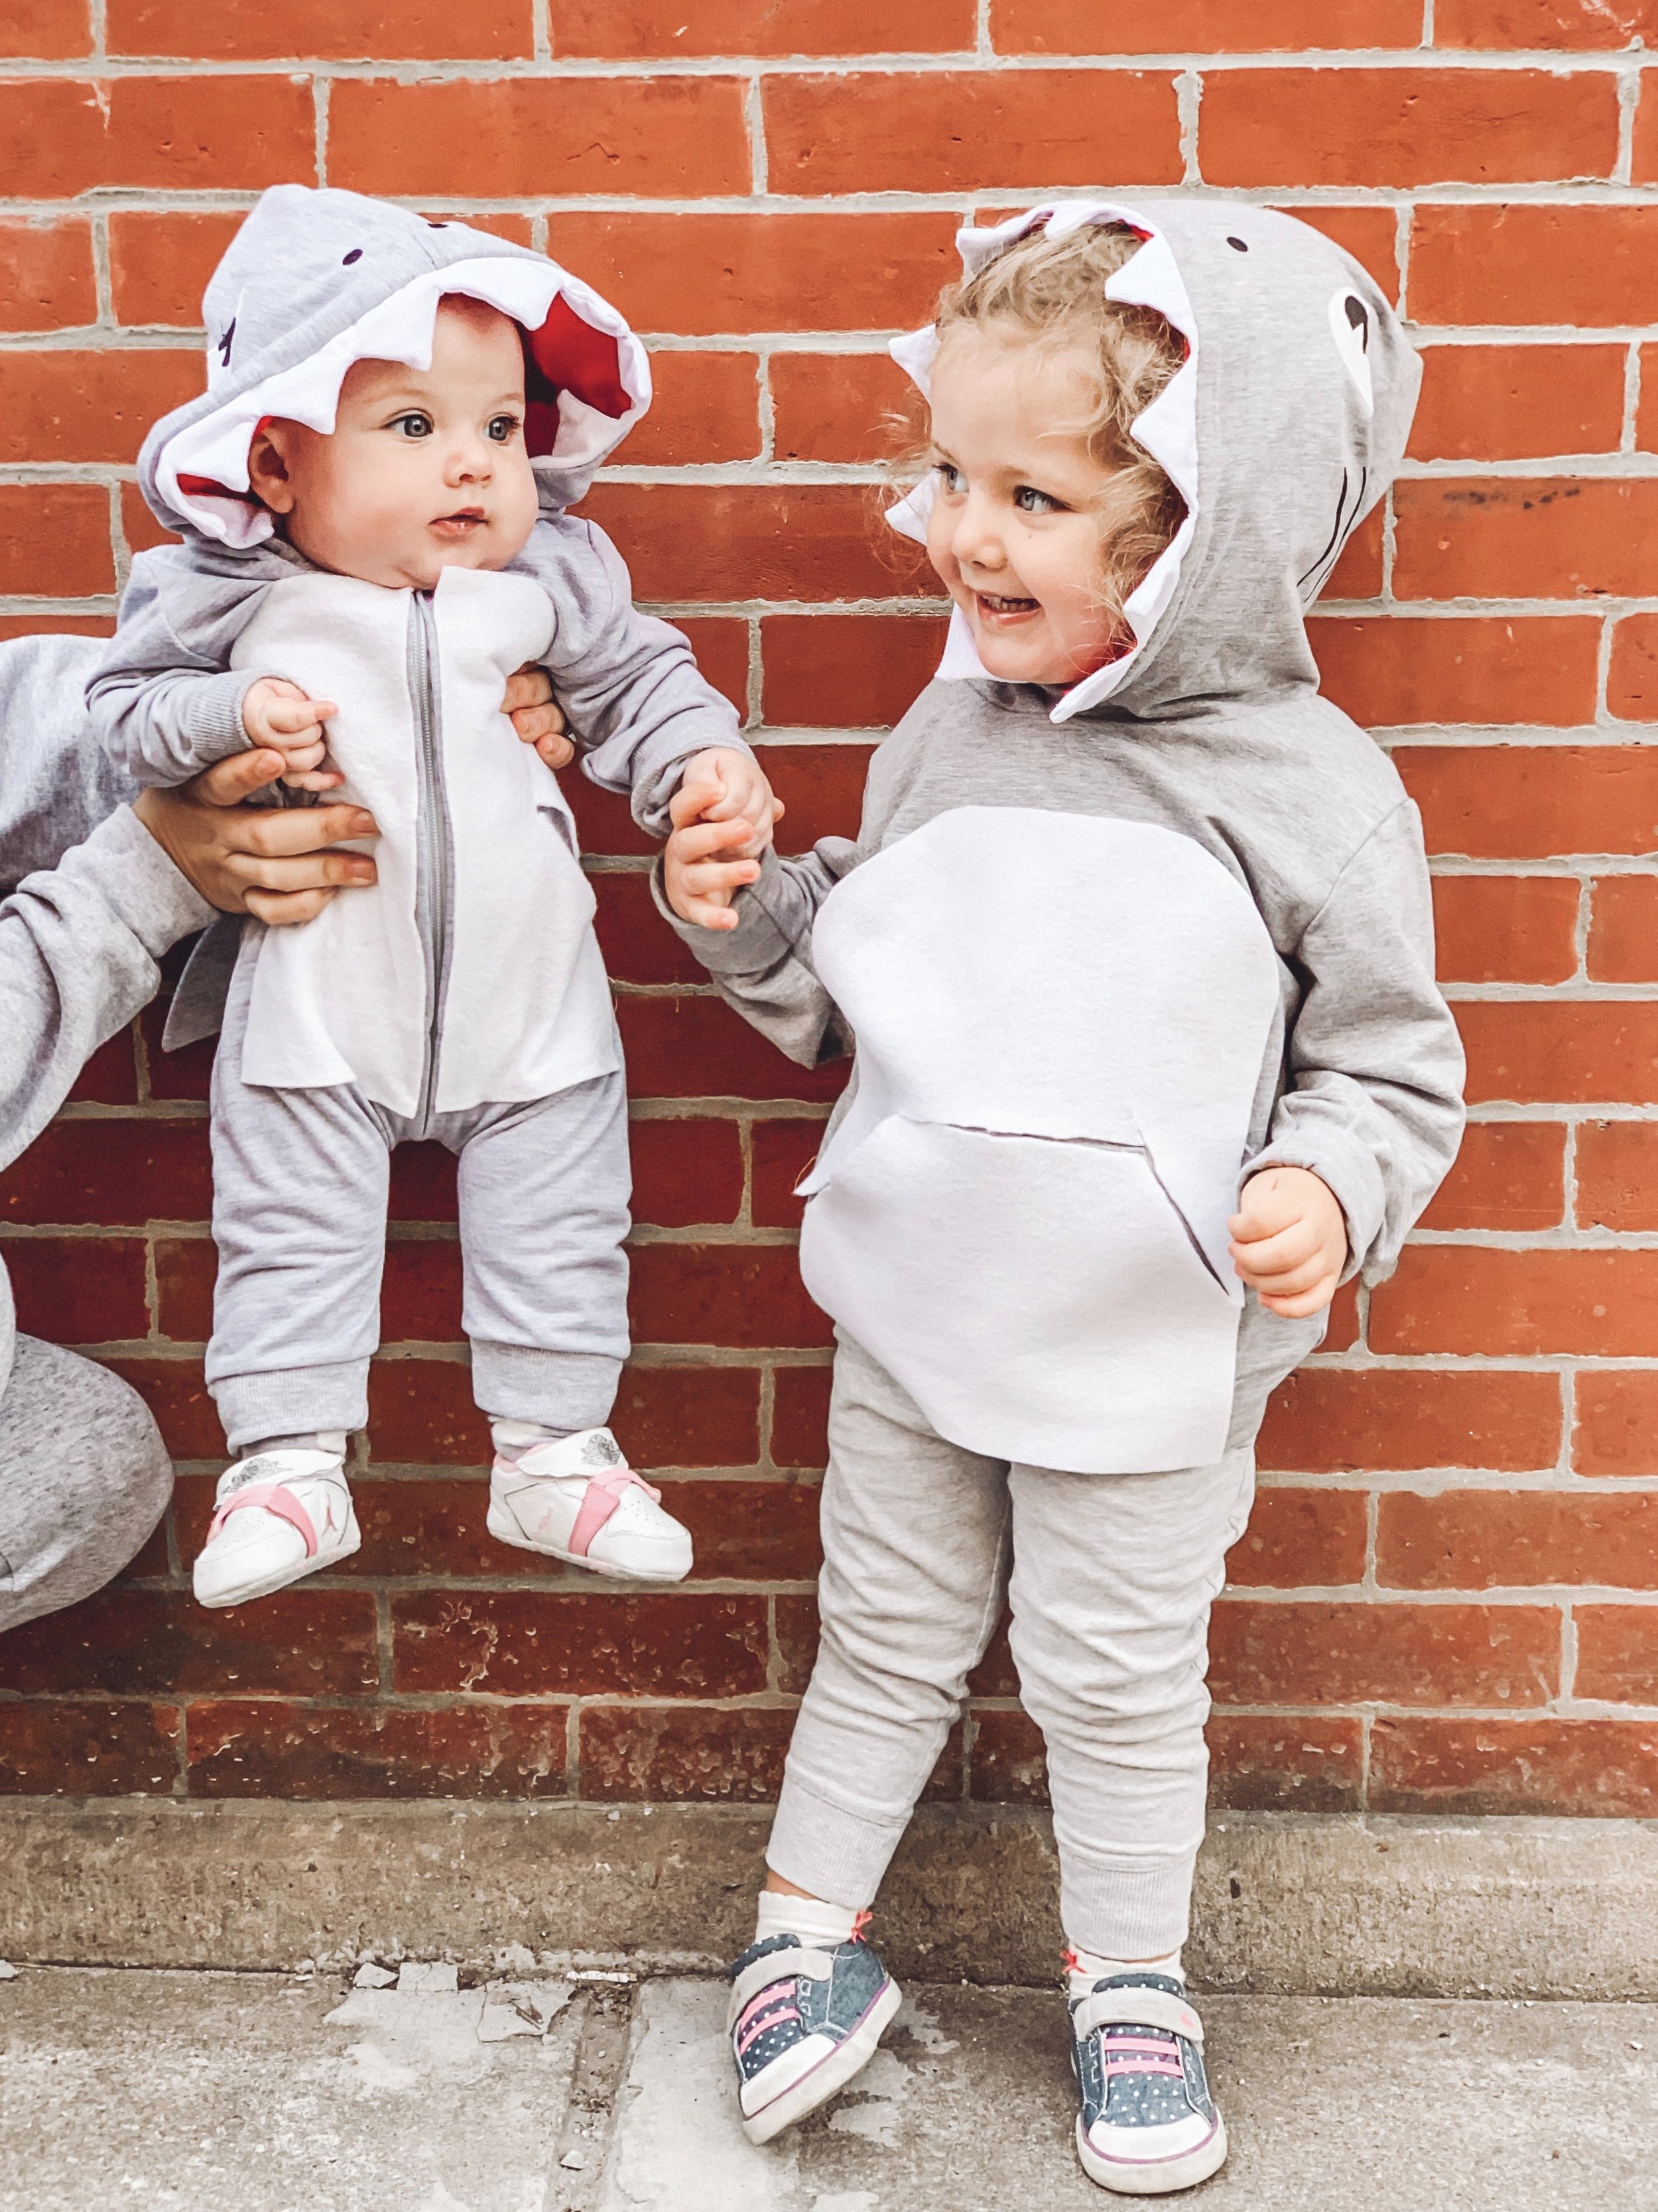
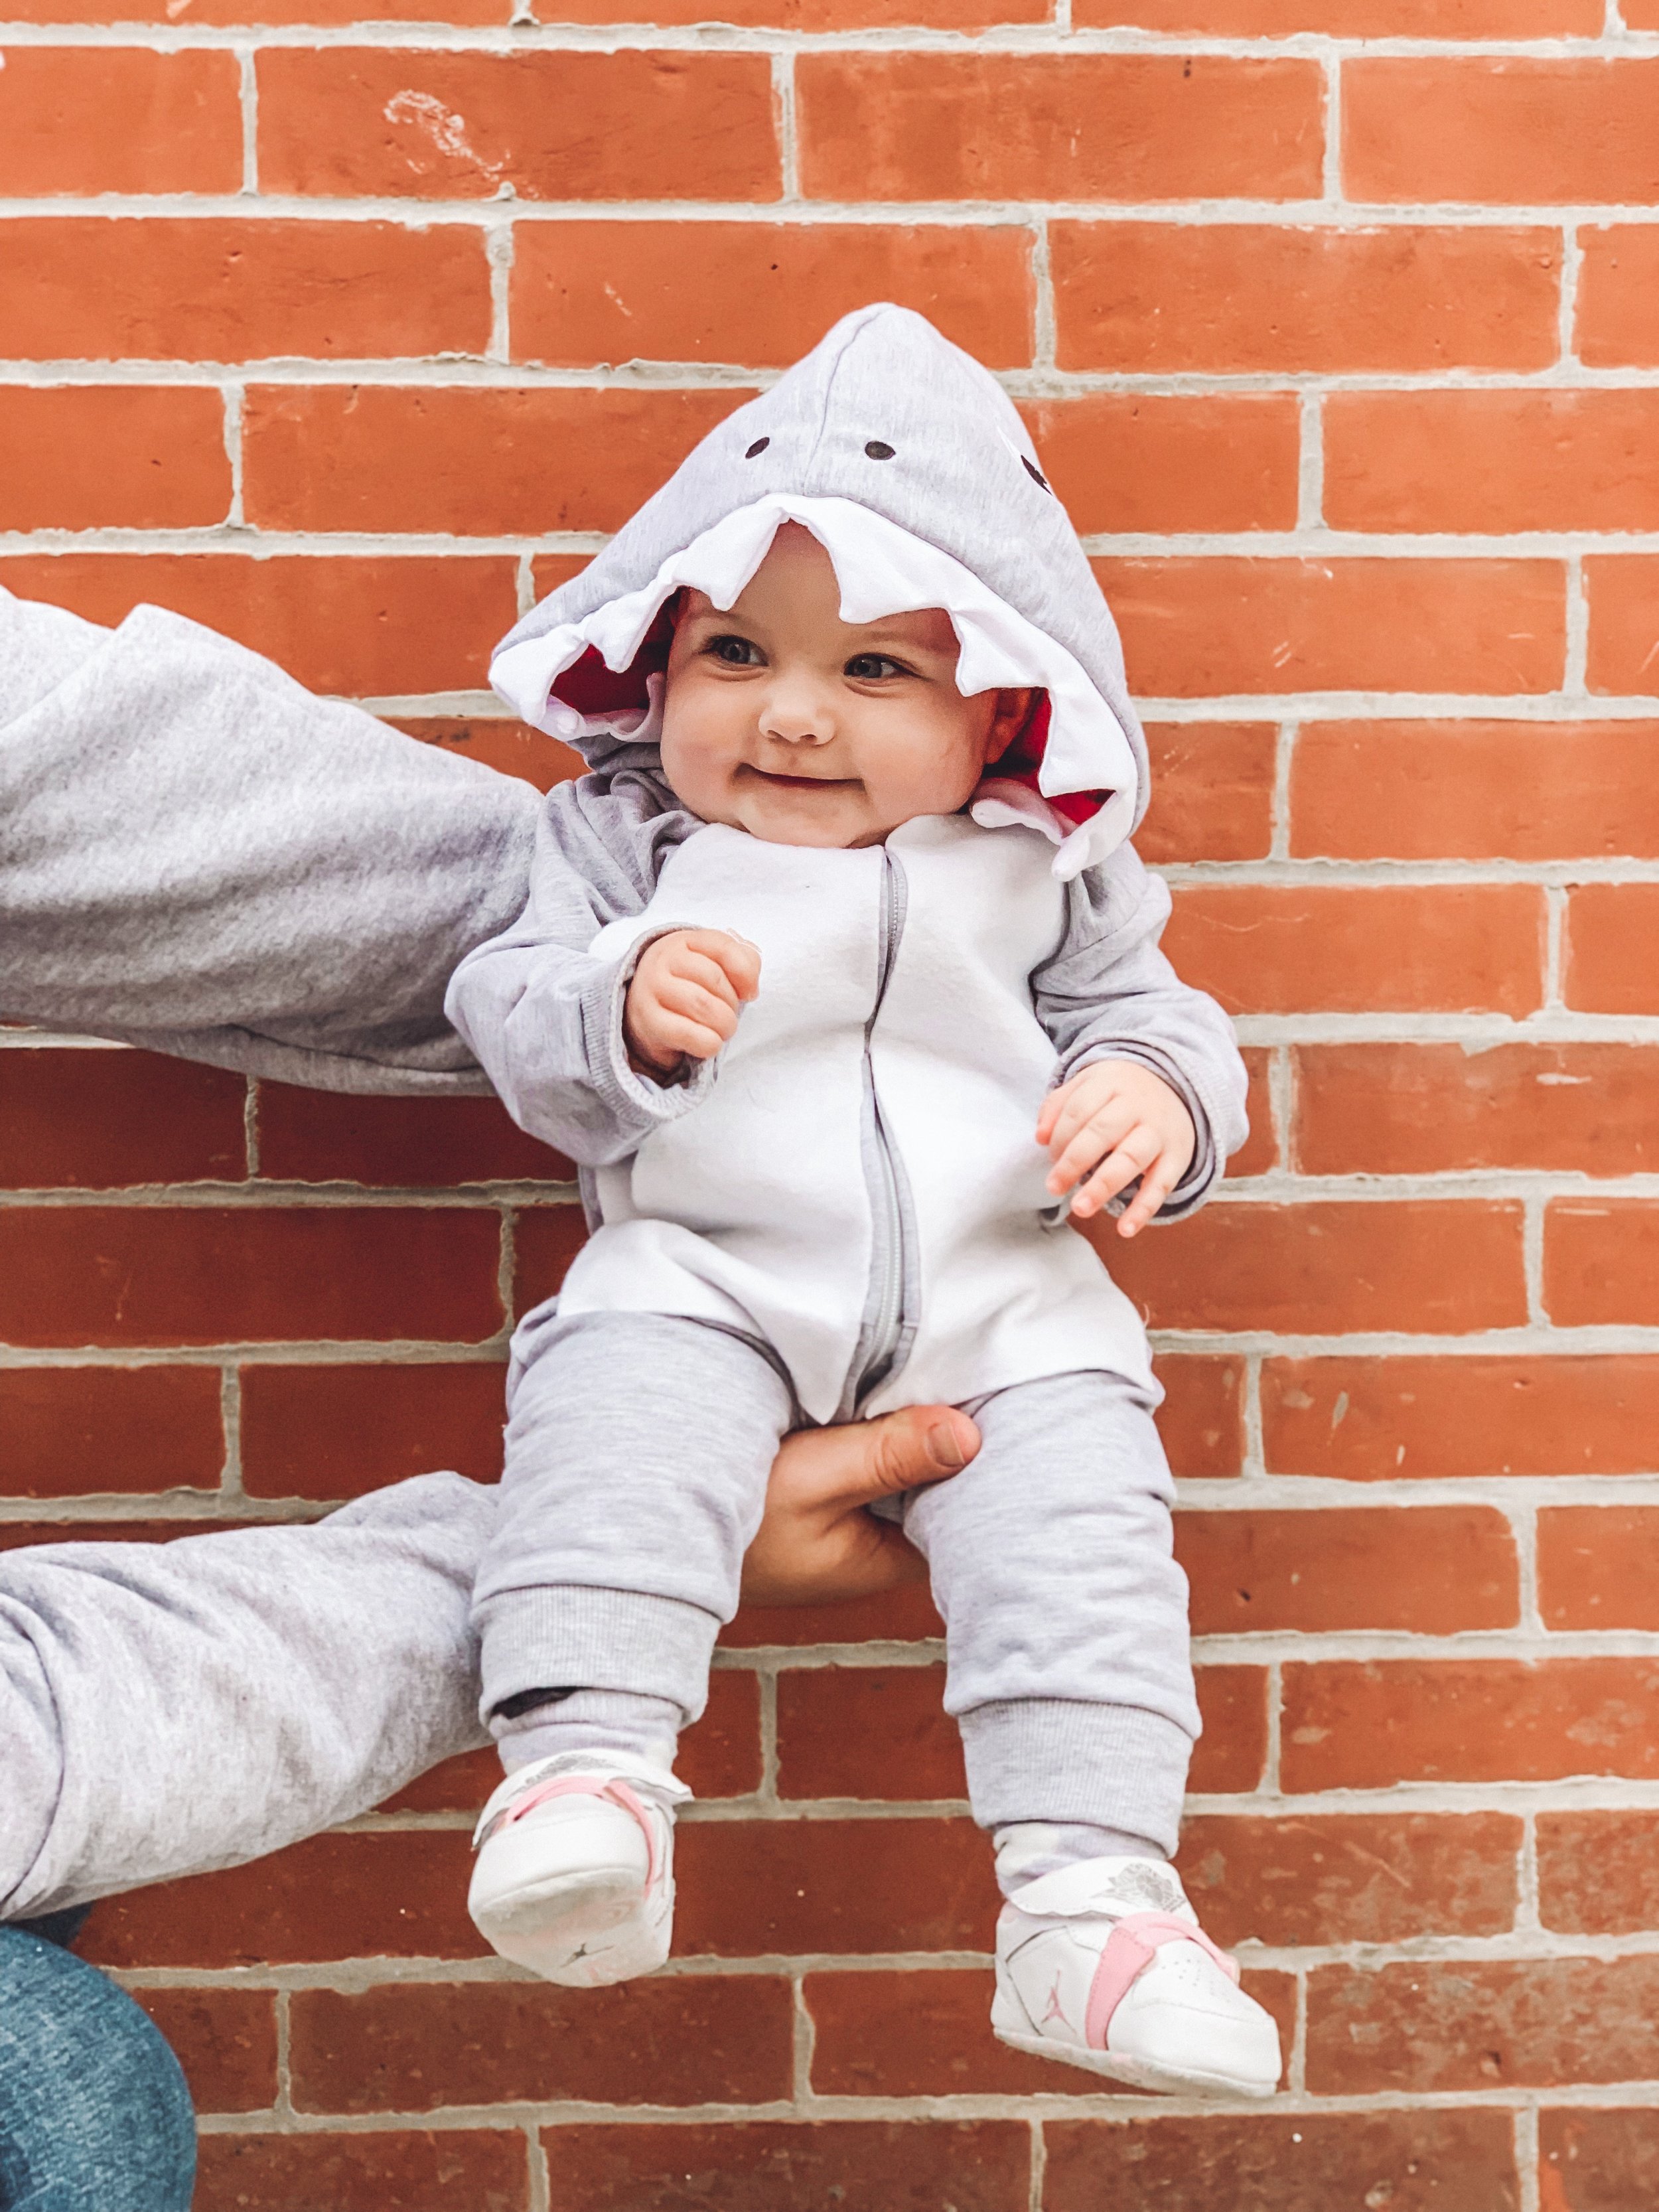
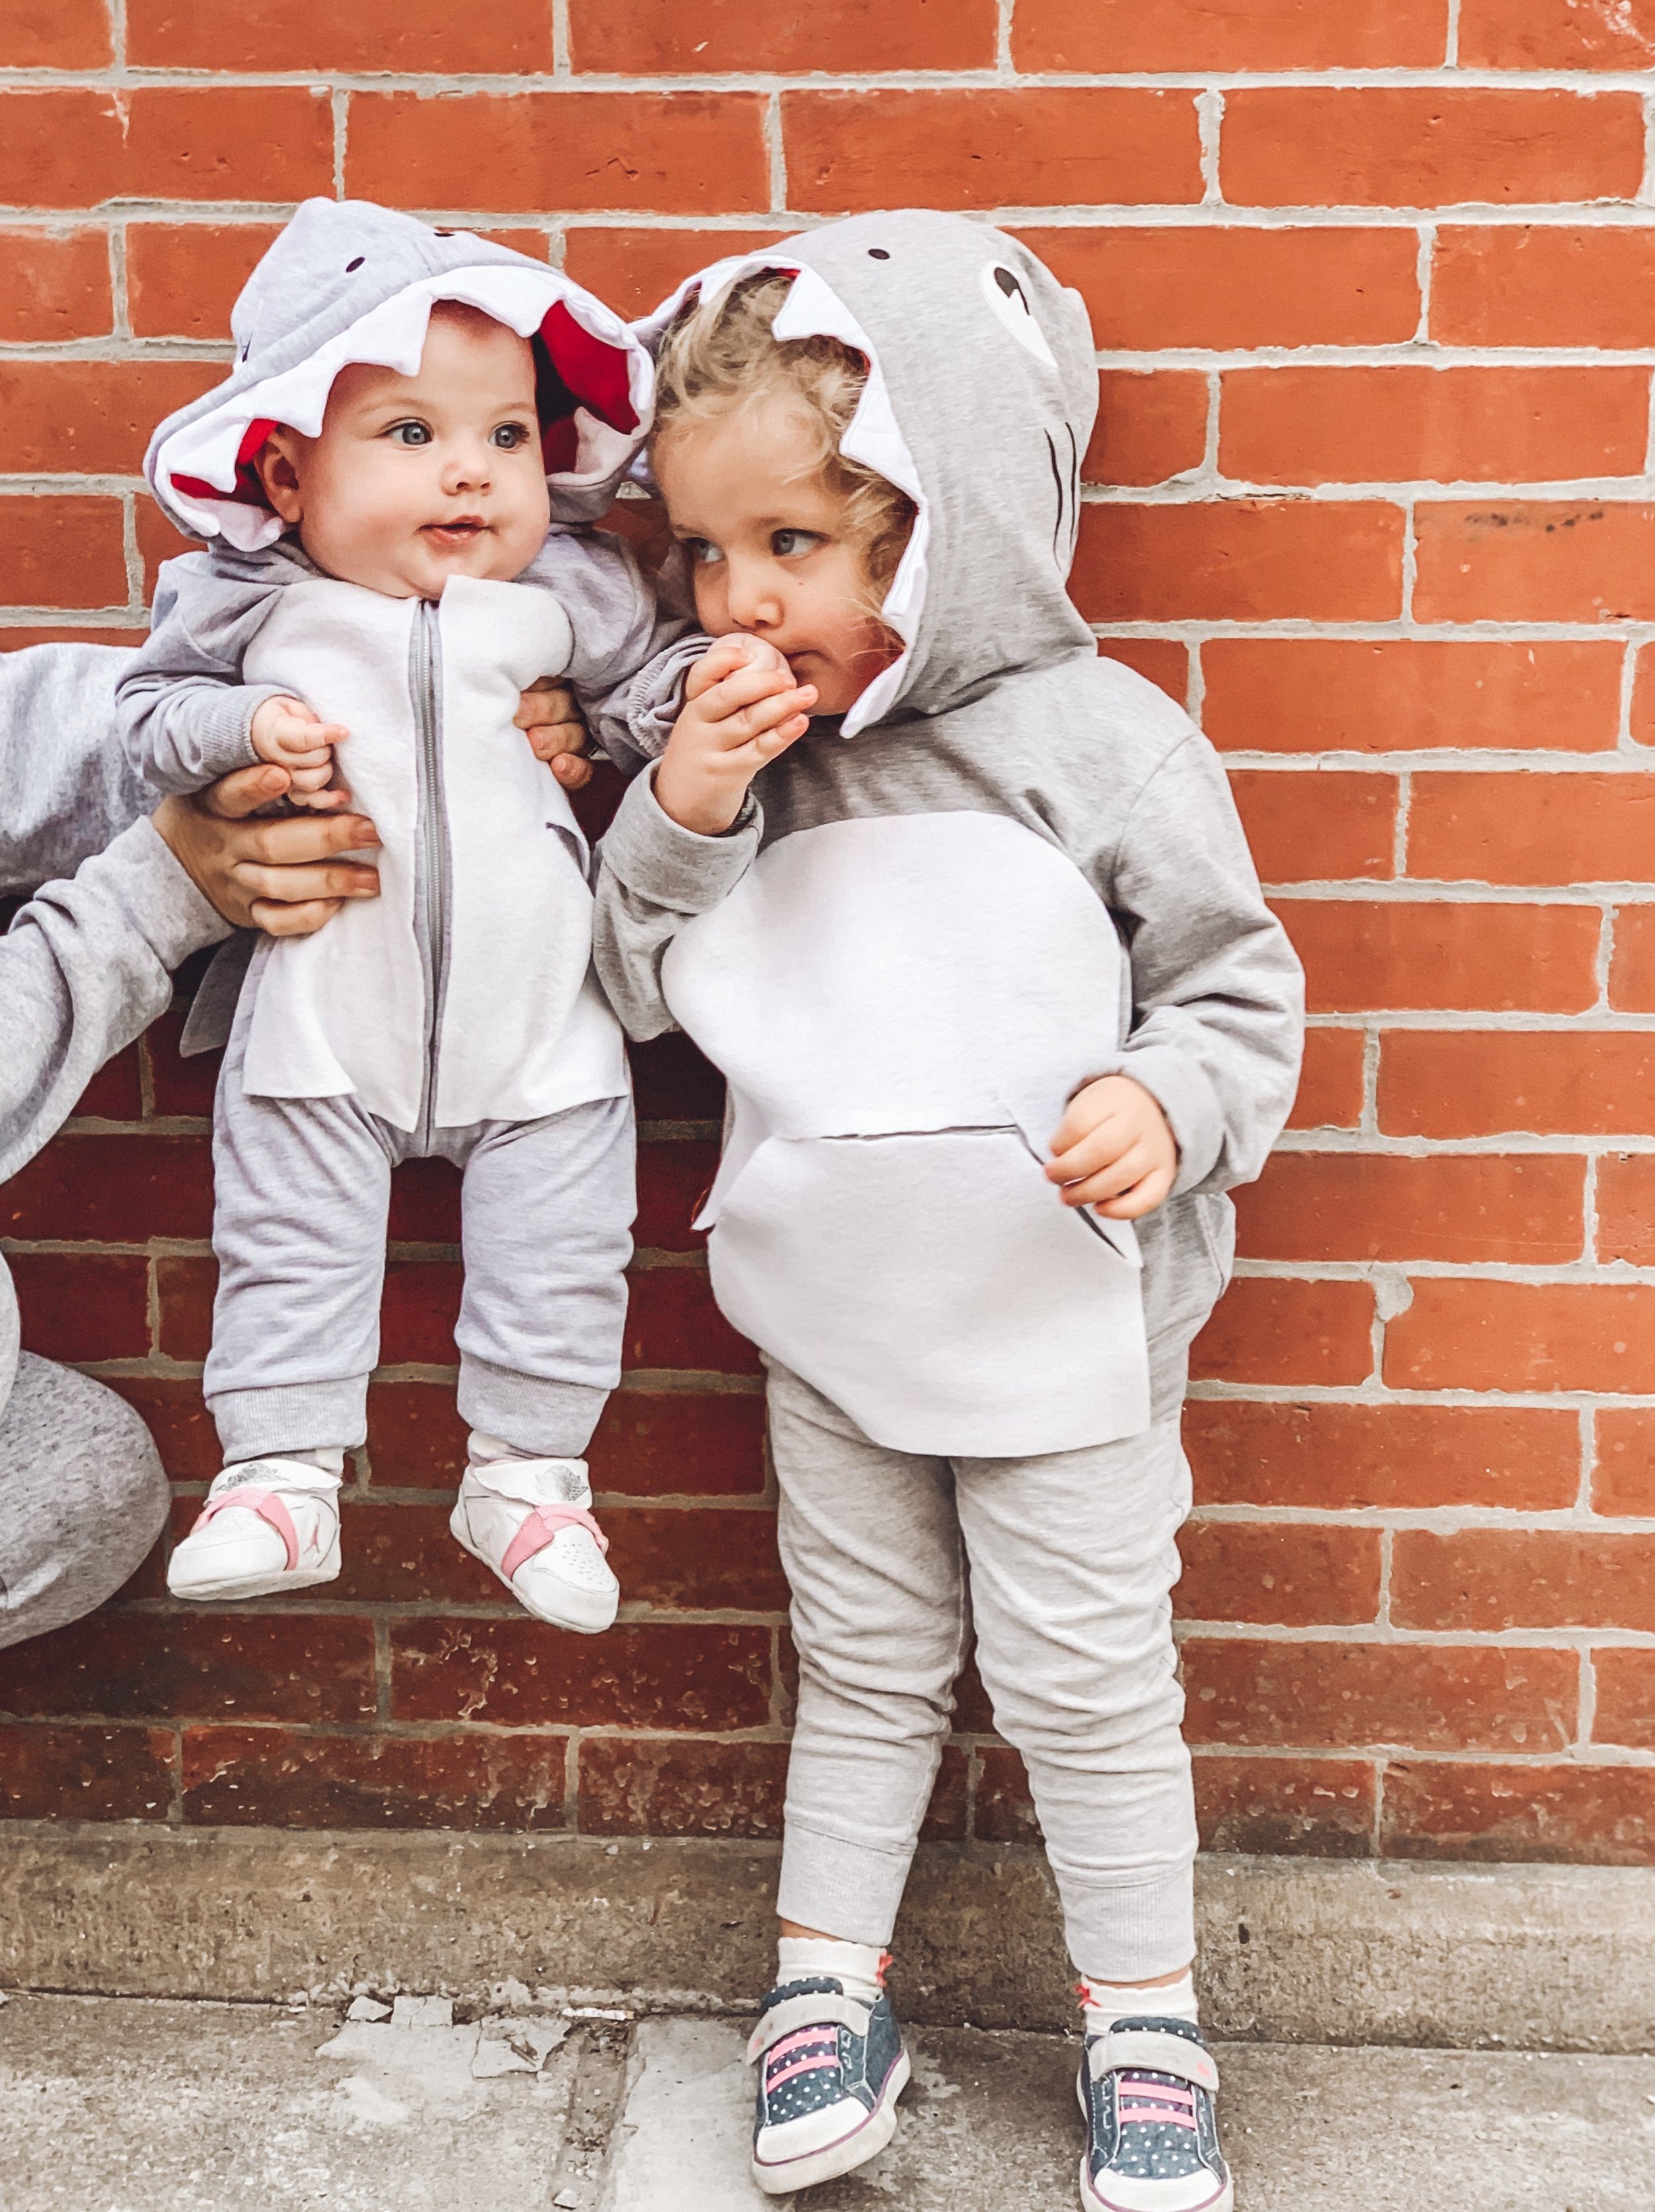
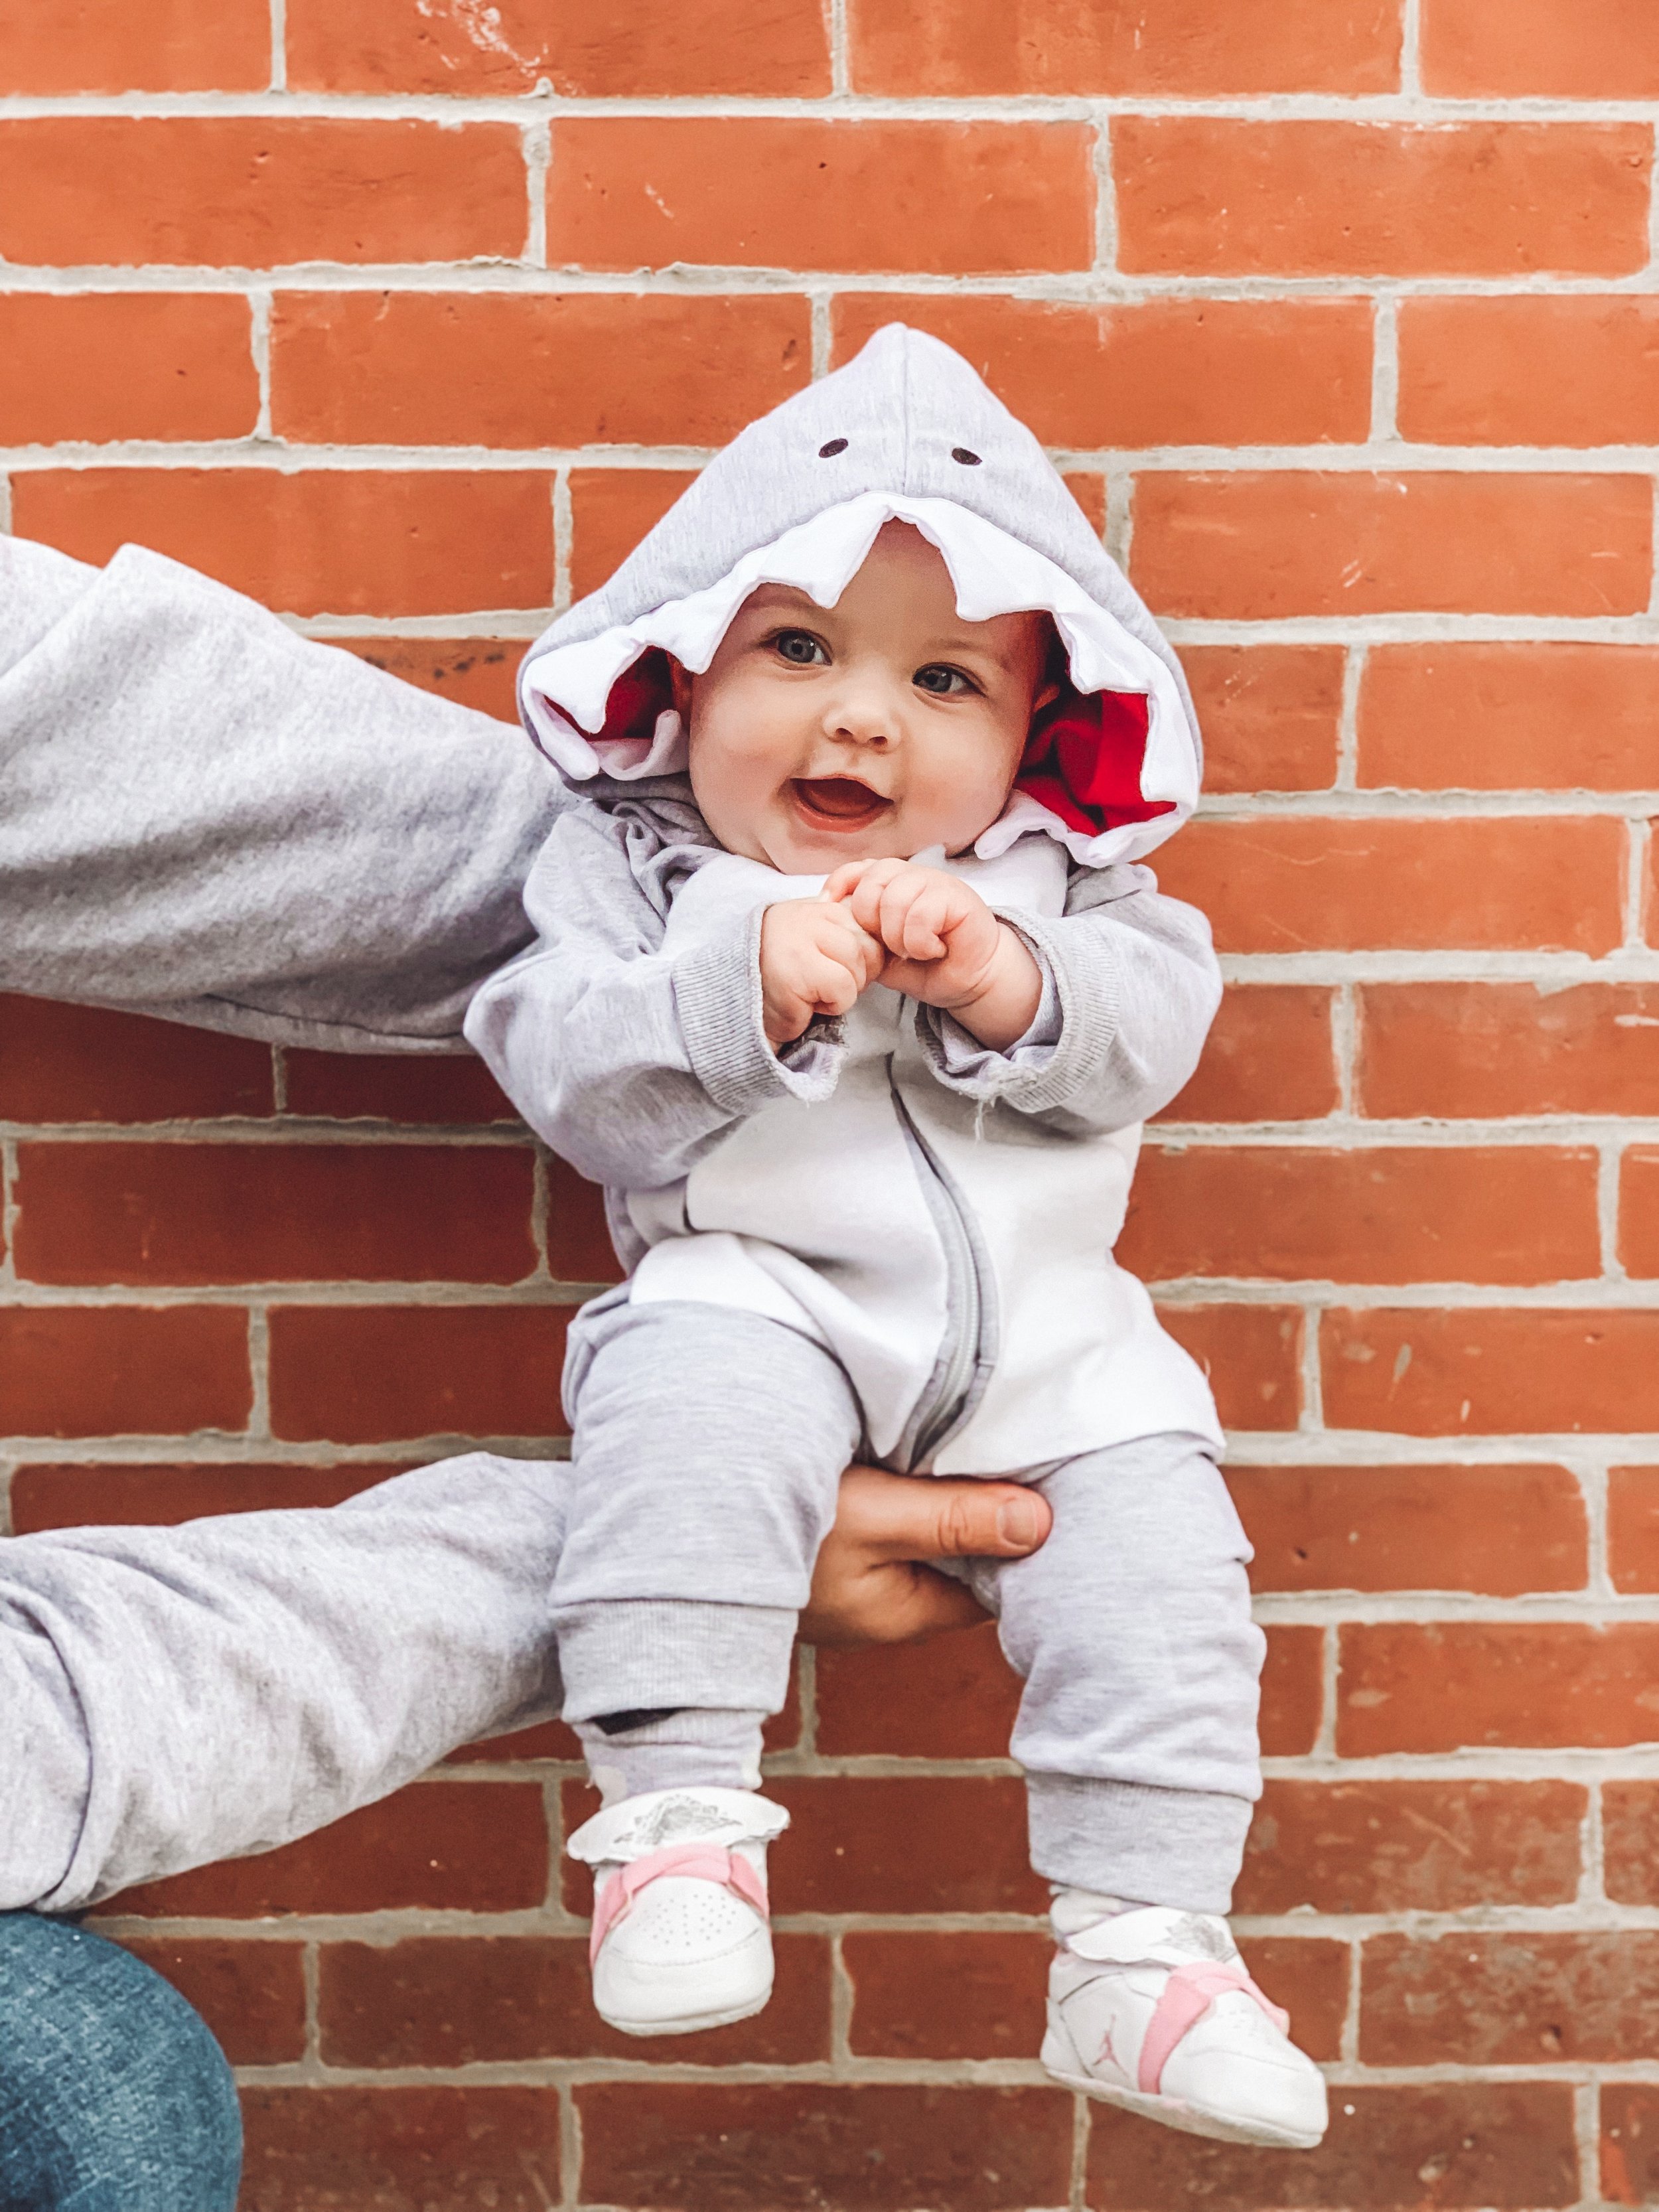
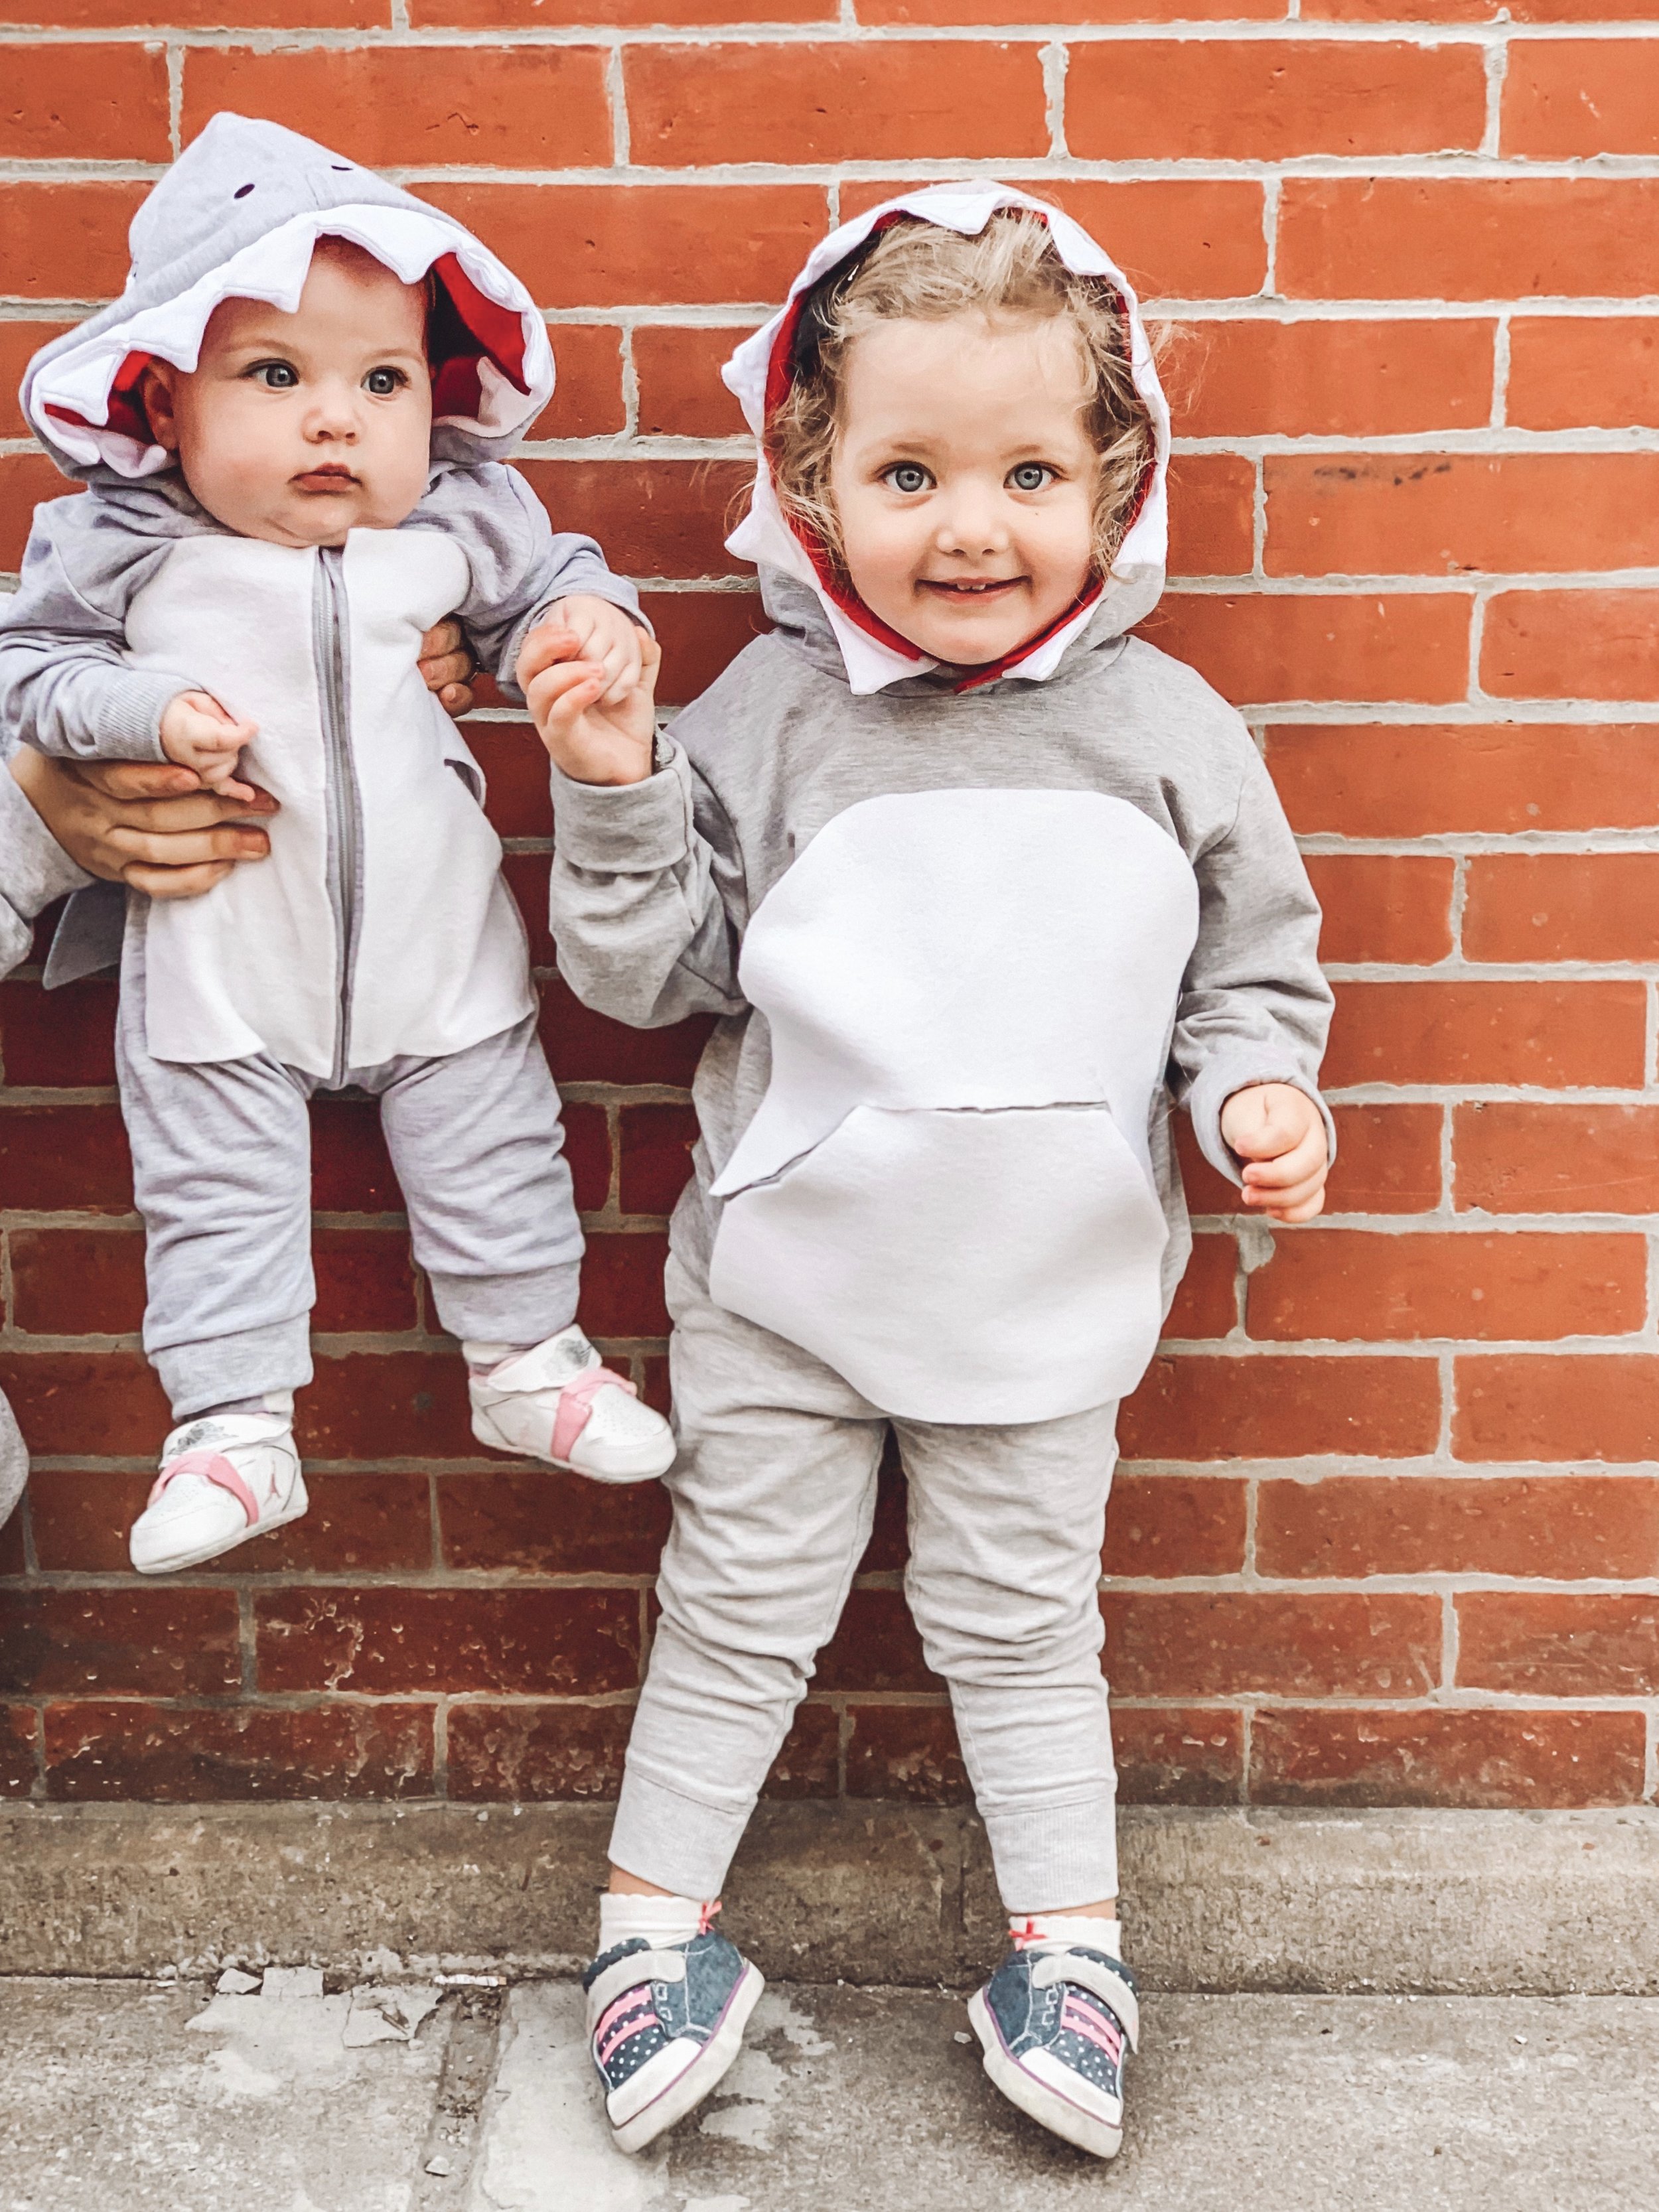
For the baby onesie and toddler hoodie, I just repeated steps 3 & 4 to add the white belly. I also added red felt to the inside of the toddler hoodie because the color was more orange than I wanted. These costumes already had the teeth, face details, and fin.
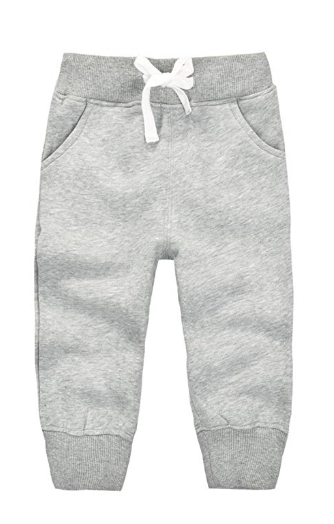
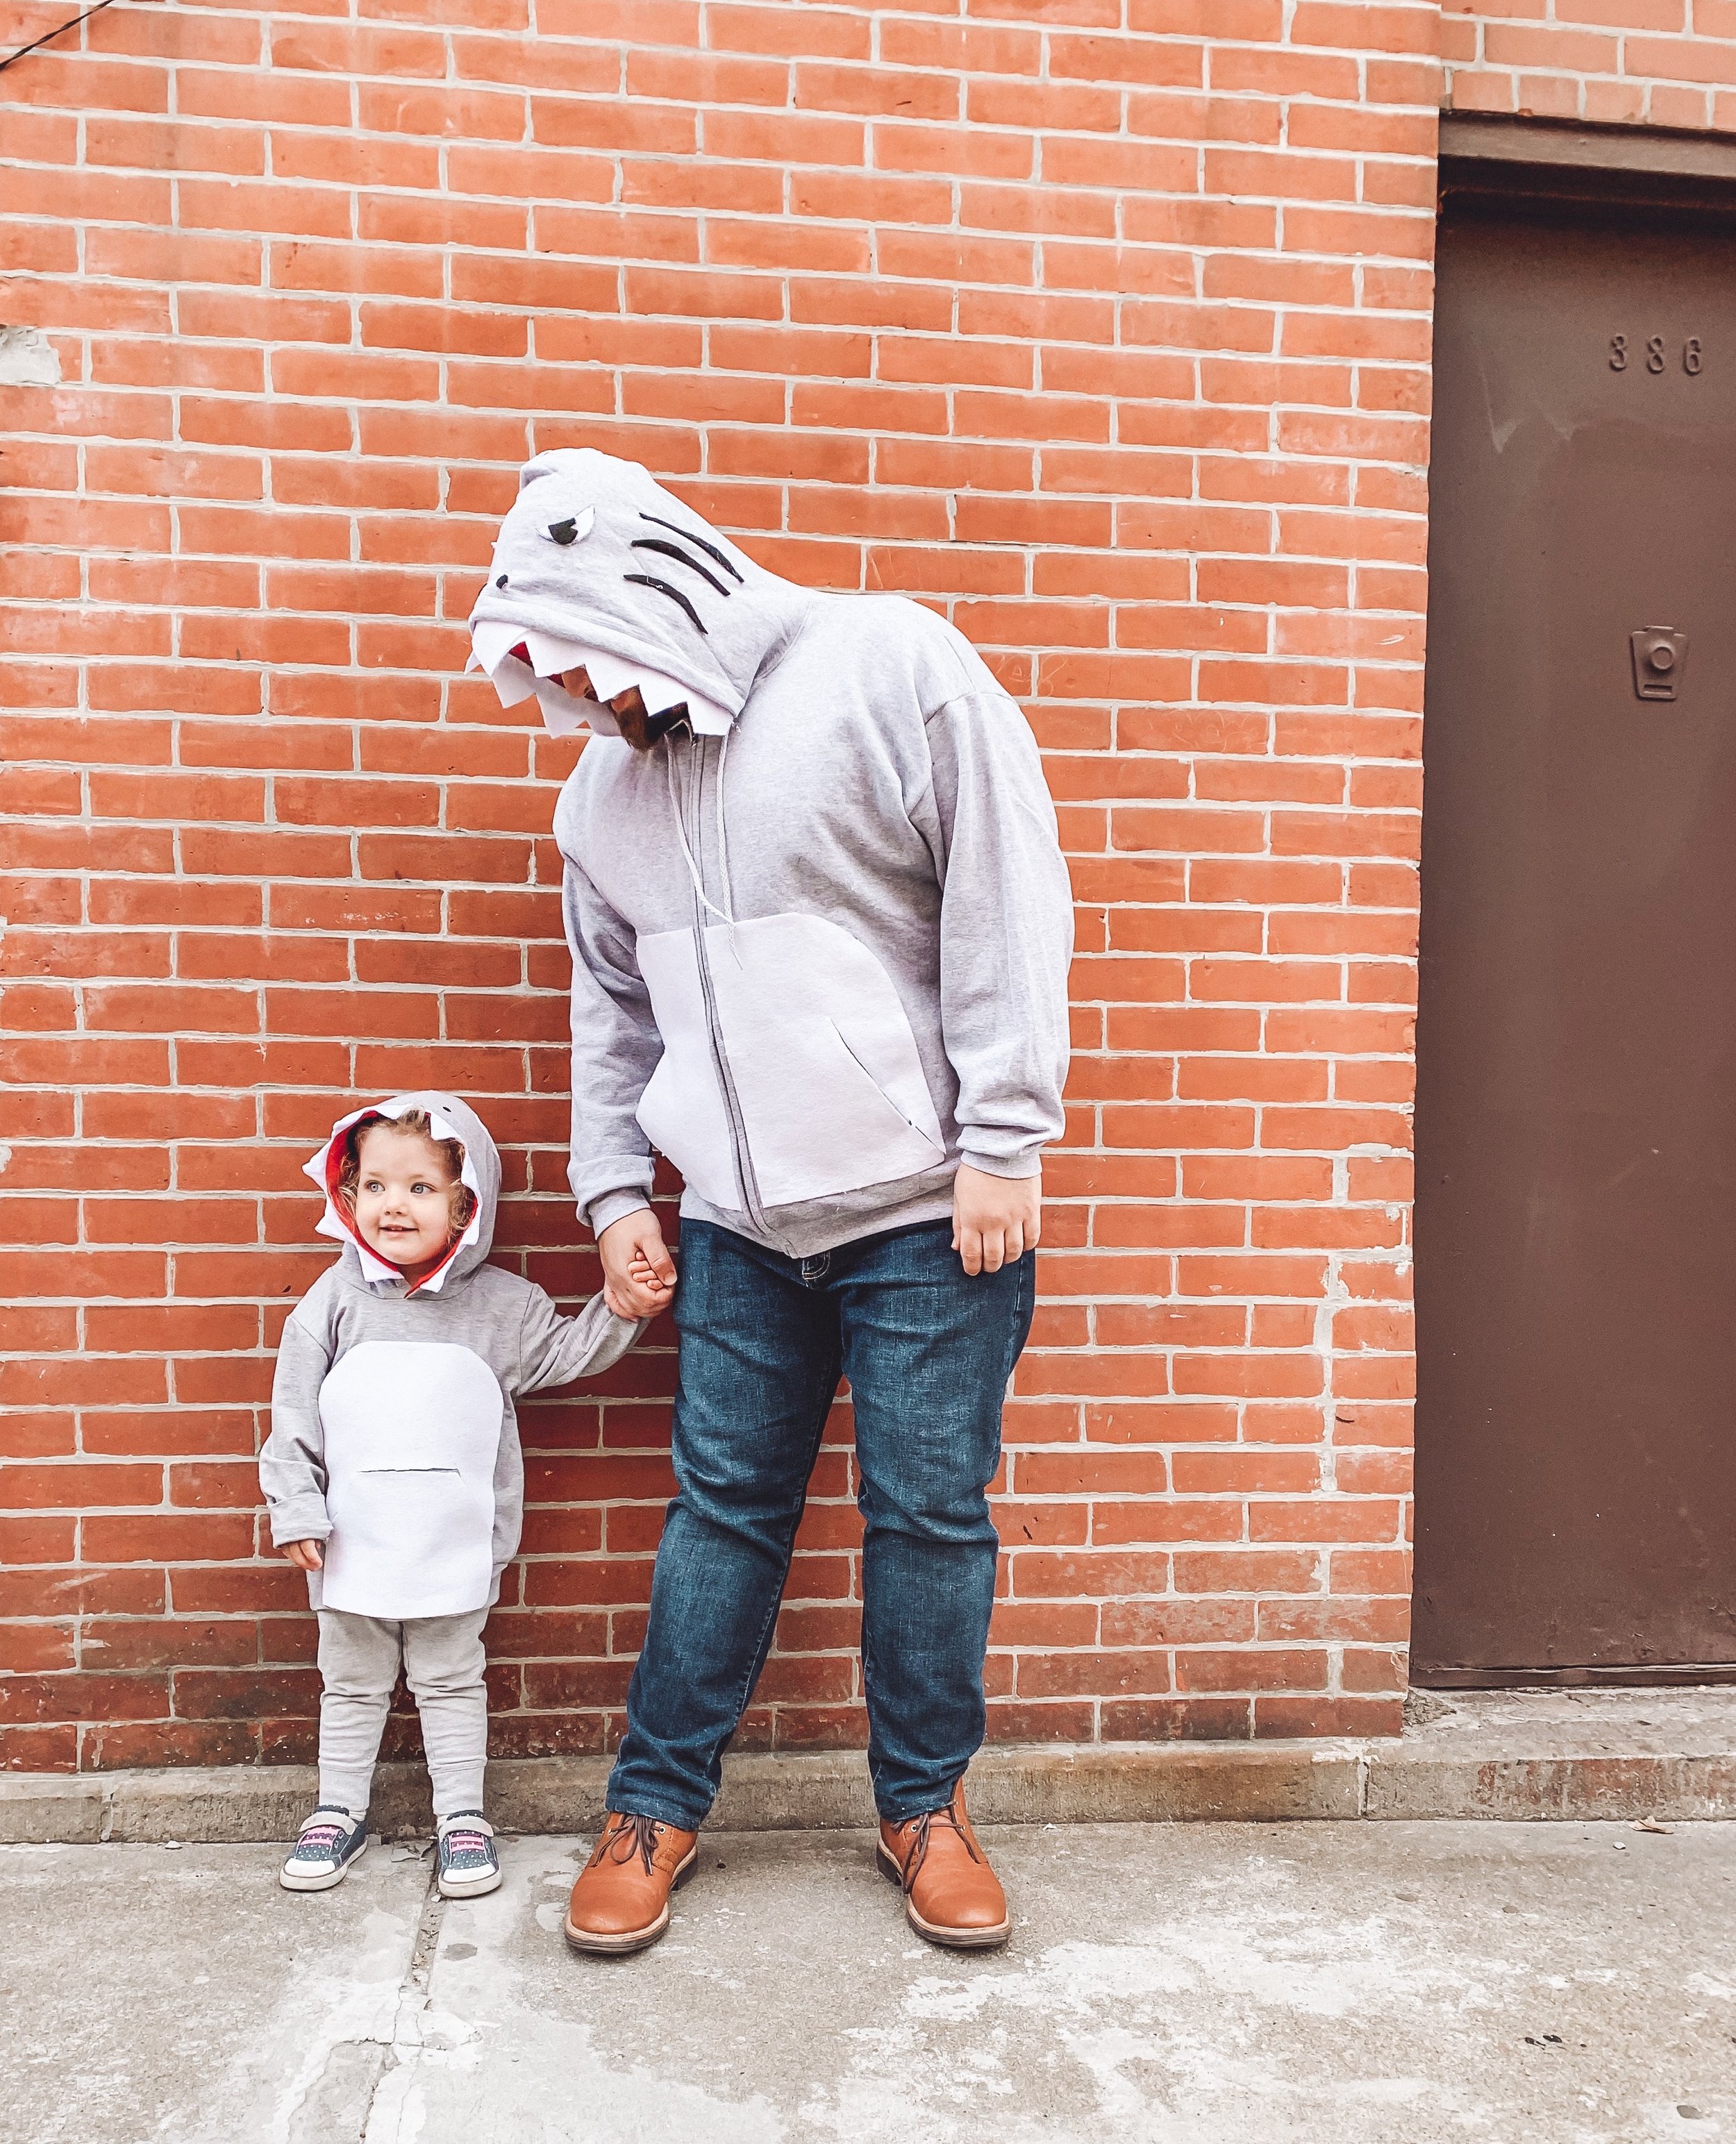
Finally, match your sweatshirt with grey sweatpants and voila - you’re a shark!
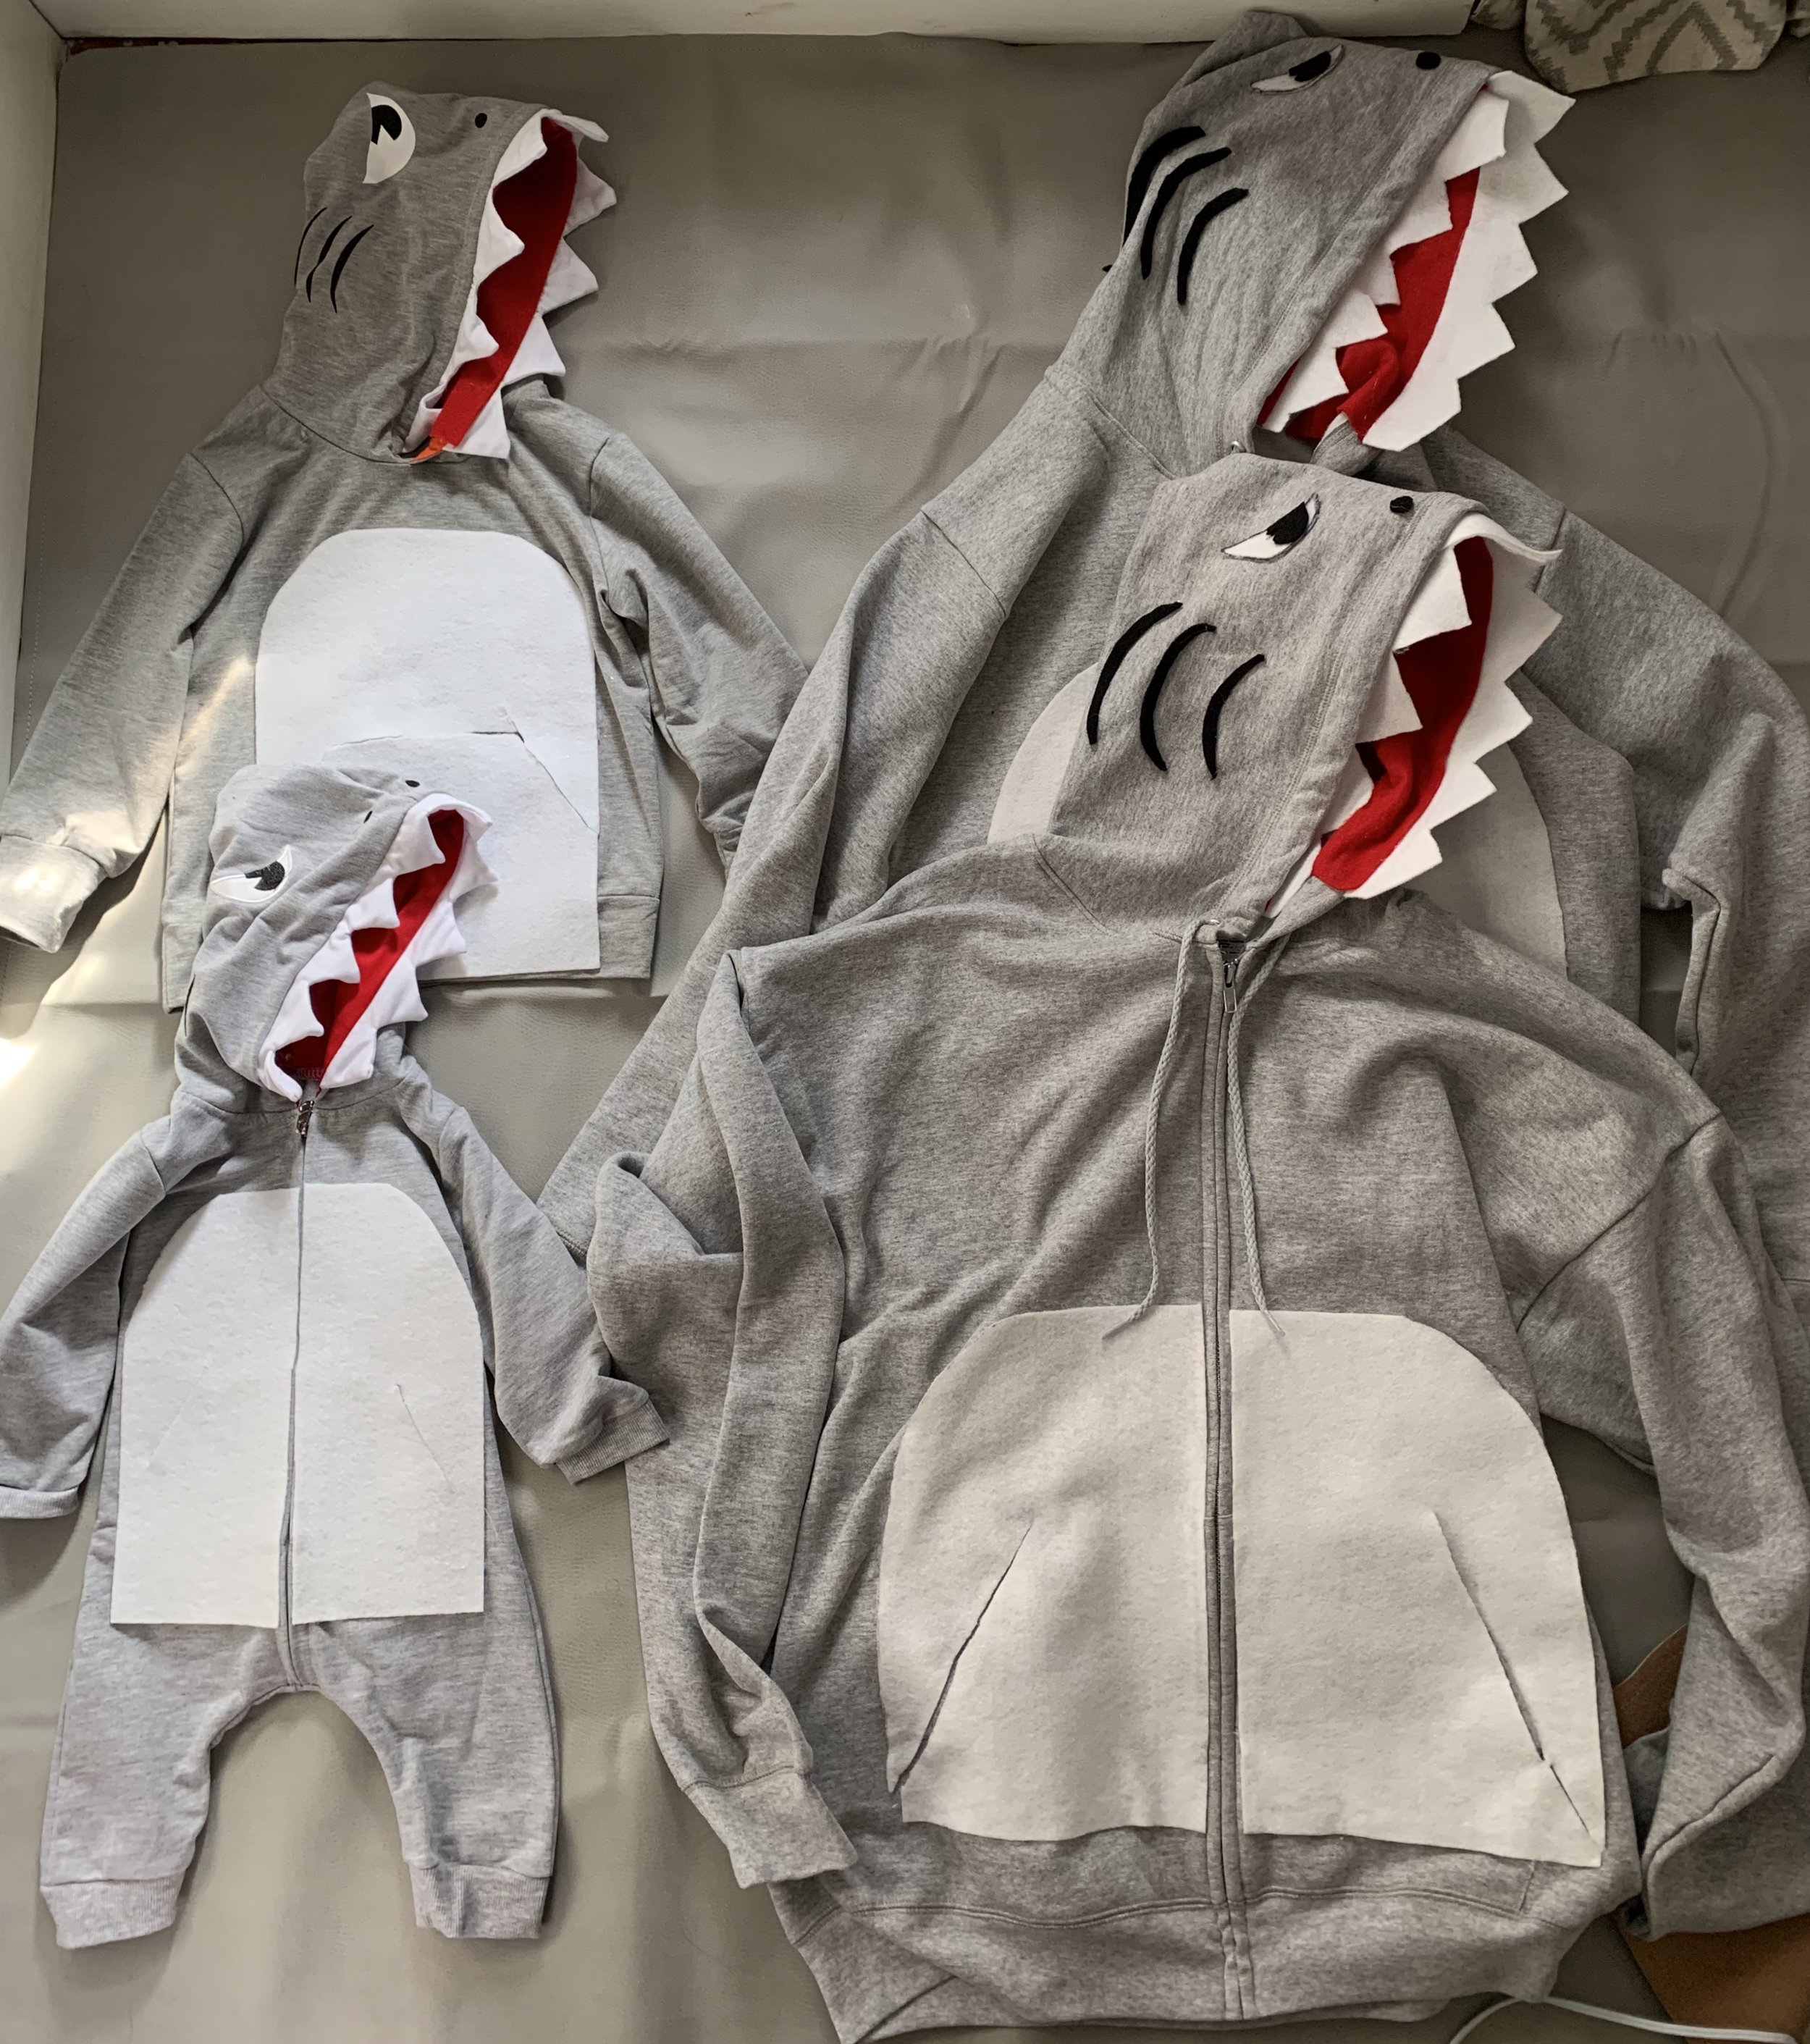
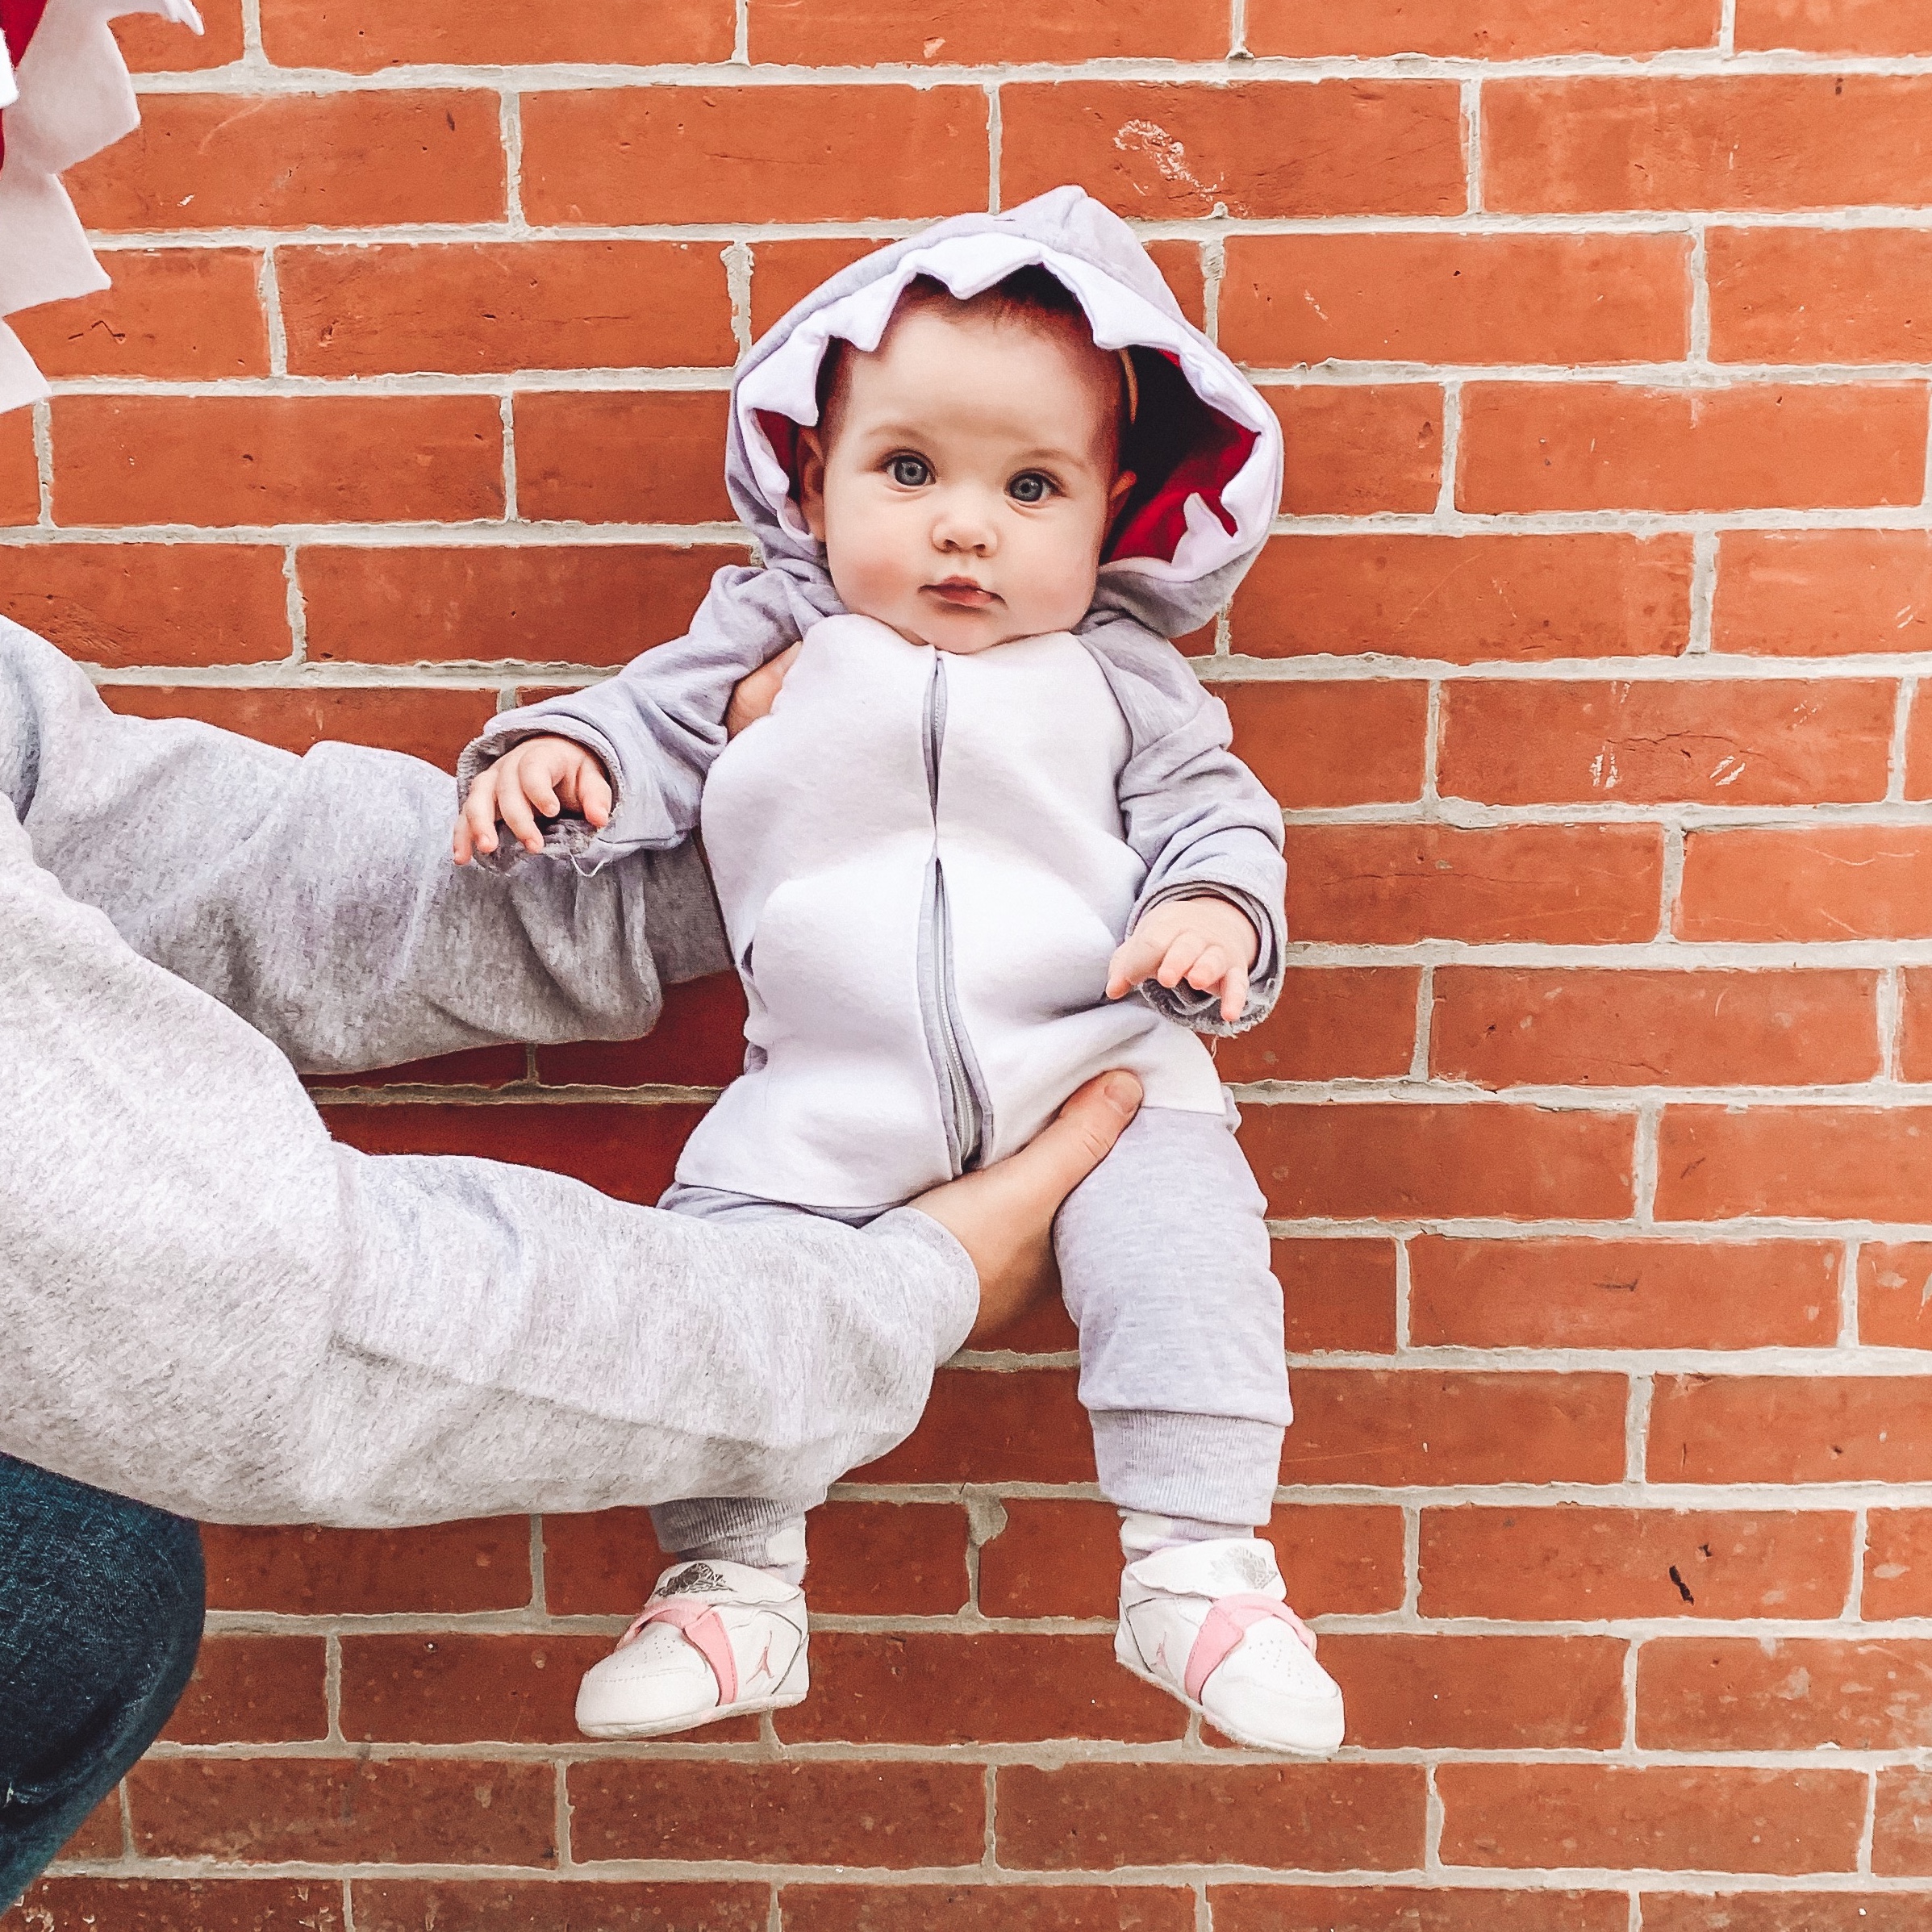
I am so happy with how these costumes turned out! They were so comfortable and kept us warm on a chilly March day. Adina absolutely loved being a shark (she couldn’t stop singing the song and doing the hand motions) and Noa nailed it as the cutest Baby Shark! We had so much fun with our first themed costume as a family of 4 and I can’t wait to make more memories in the many matching costumes to come!
SHOP THE POST